Wednesday, September 28, 2016

Wrapped in Warmth... Wishing You a Season Filled with Warmth & Cheer


Here's a sweet simple holiday card for you today....

We're actually making this card at the Wrapped in Warmth Holiday Stamp-a-Stack Class on Saturday, October 22 anytime from 10am-4pm.

There are 2 Stamp-a-Stack Classes to choose from this day (on Saturday, October 22) (or do them both!), then one more on Thursday, December 1.

Check out all of the details on these great Holiday Stamp-a-Stack Classes here!
And...  receive a $15 gift certificate to use on Stampin' Up product when you sign up for all 3 Stamp-a-Stack Classes!!

Now to learn more about our card........


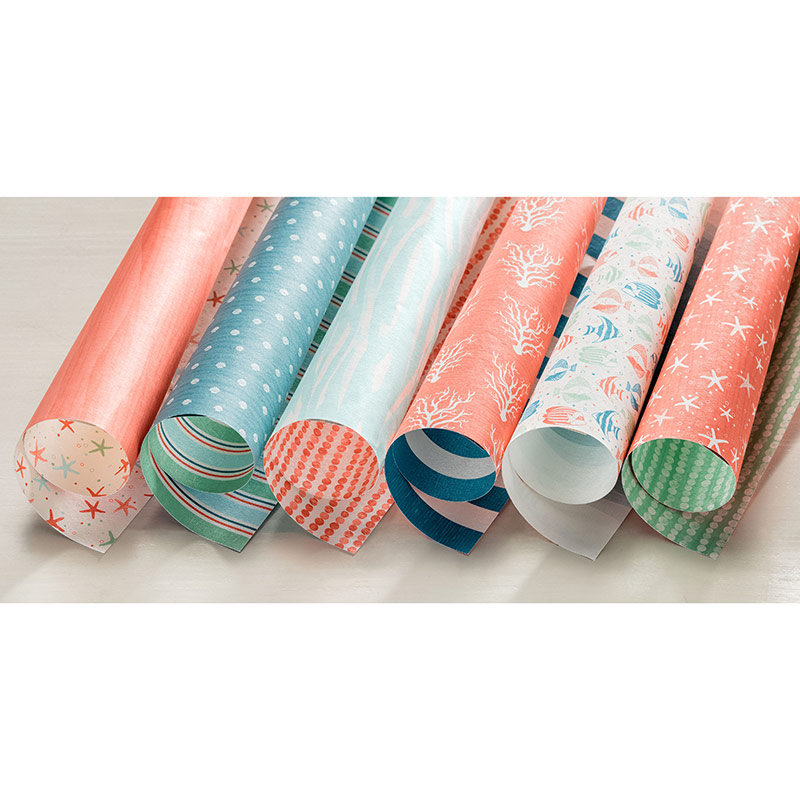
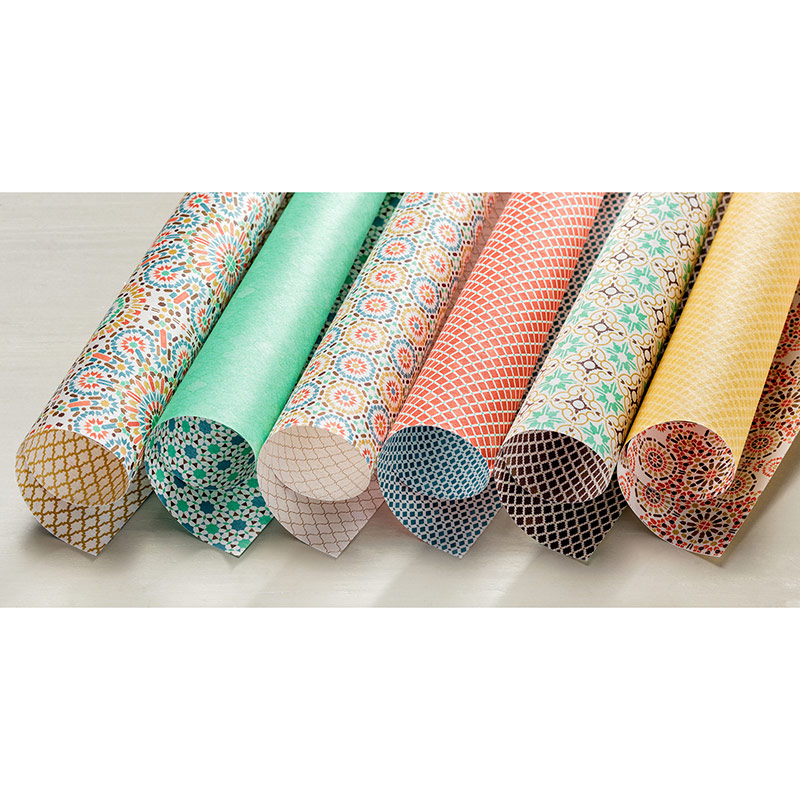
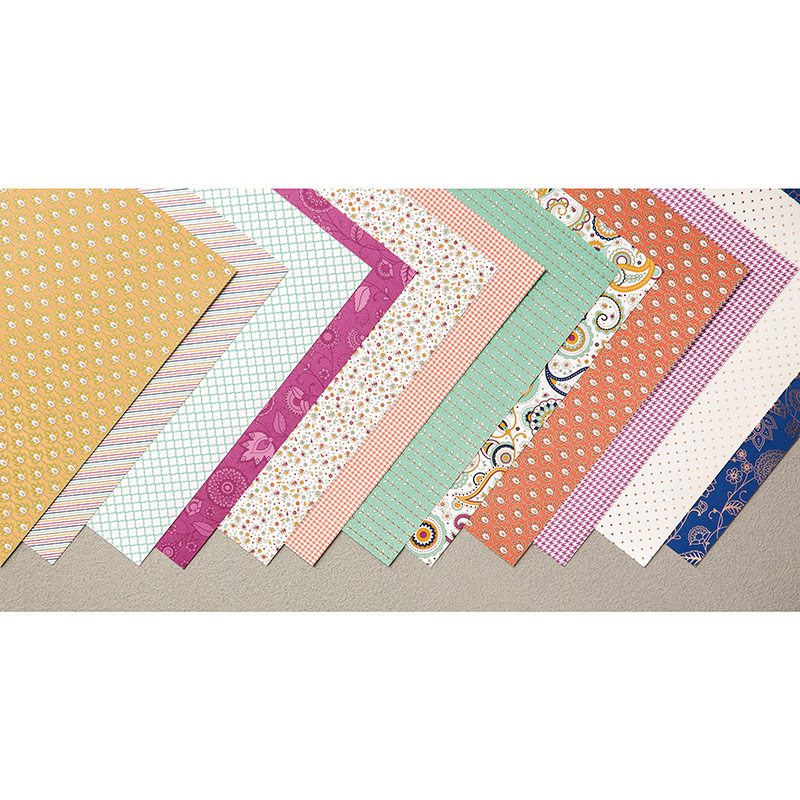
We start our card with an Early Espresso card base, then added a layer of Whisper White card stock, along with a strip of the Candy Cane Lane Designer Series Paper to the bottom of our card.  The entire Candy Cane Lane suite of products is so much fun to play with!

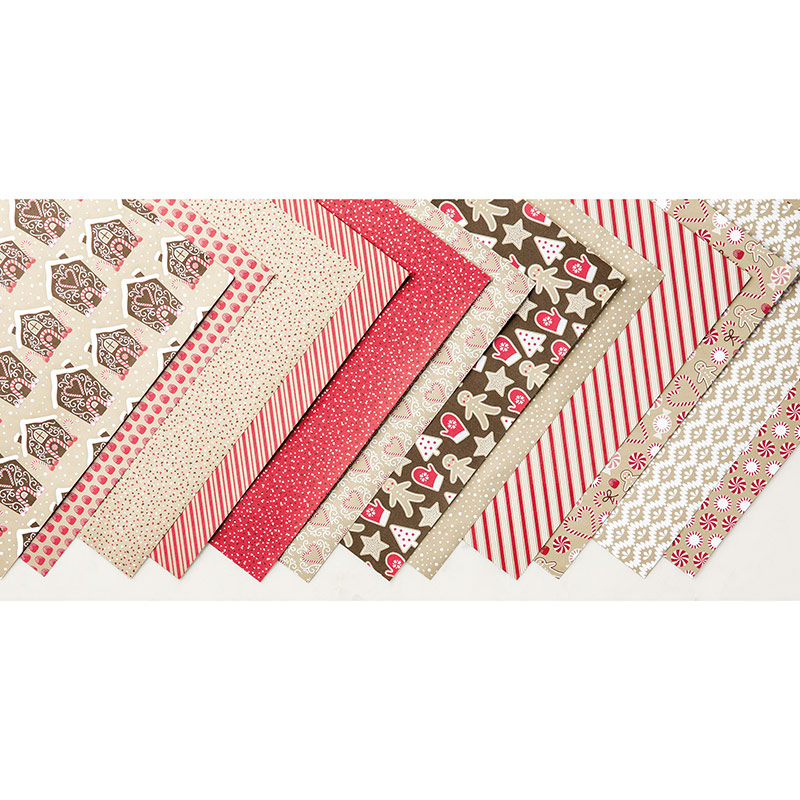
Candy Cane Lane Designer Series Paper  141981  $11.00


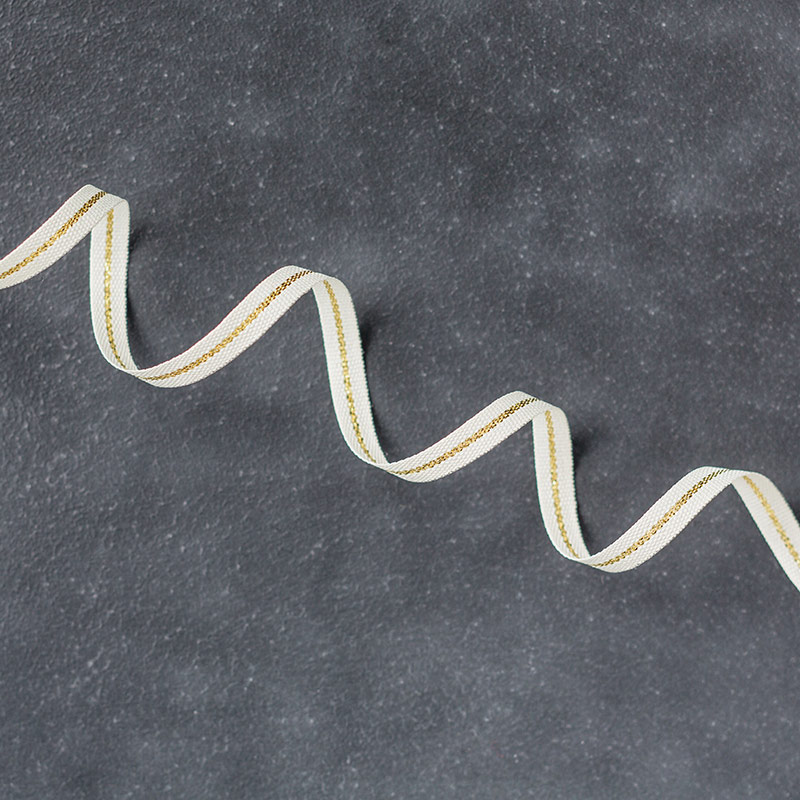
Before adding these pieces to the card, we layered a strip of Real Red 3/4" Stitched Edge Ribbon to them and then attached the layers to the card using Fast Fuse Adhesive.  This Fast Fuse Adhesive is great for adding multiple layers (and ribbon) to a card because it's like a super-strength adhesive!


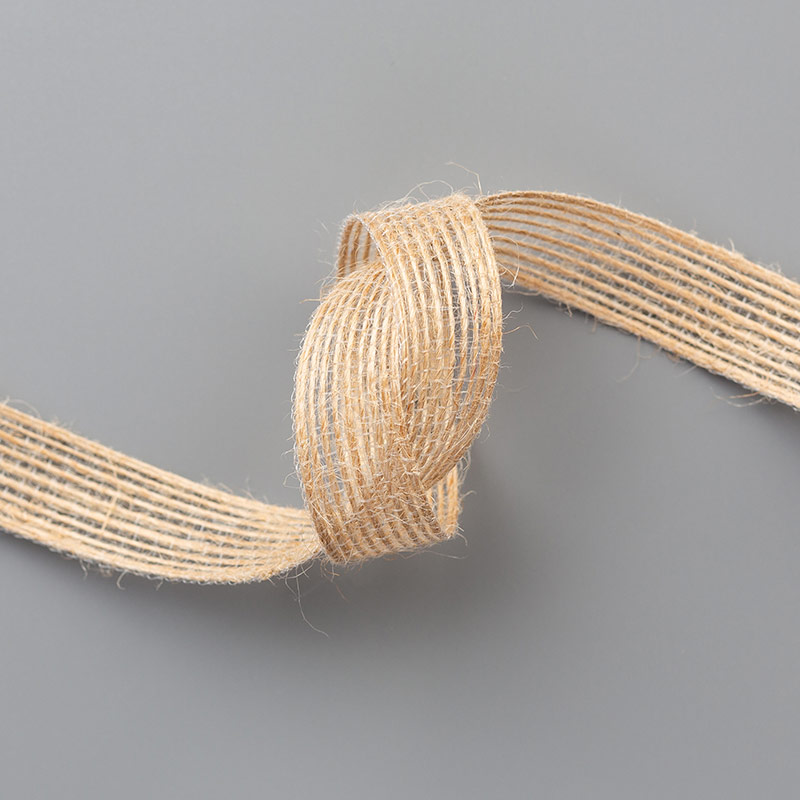
Real Red 3/4" Stitched Edge Ribbon  141984  $8.50


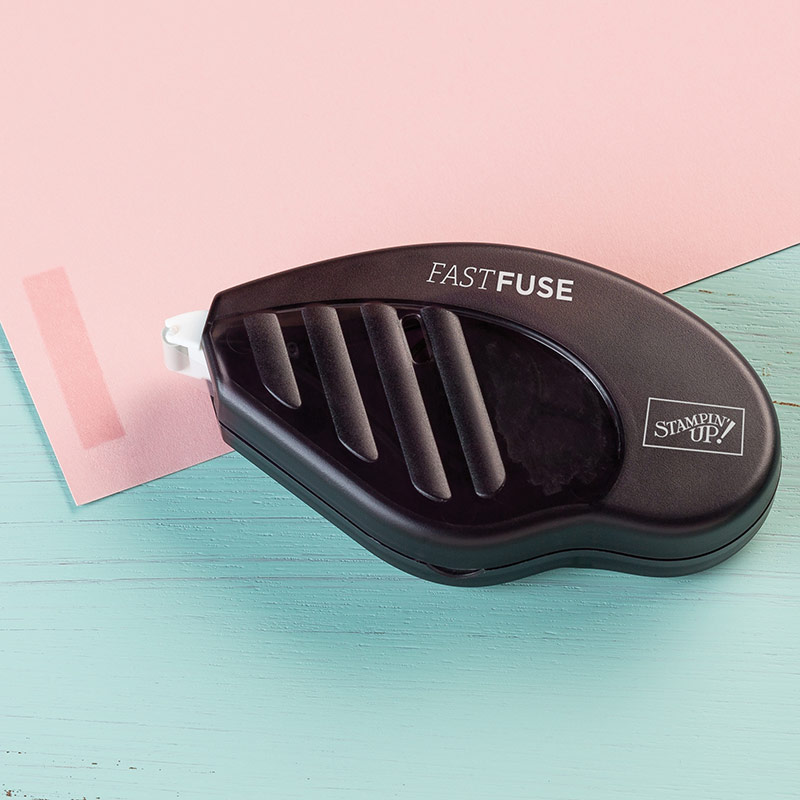
Fast Fuse Adhesive  129026  $10.00


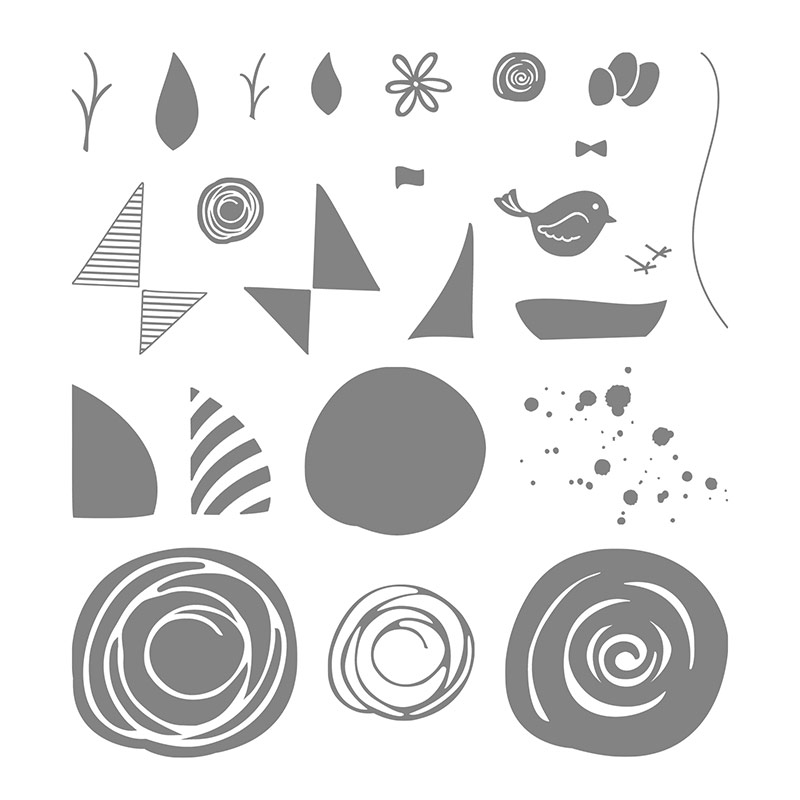
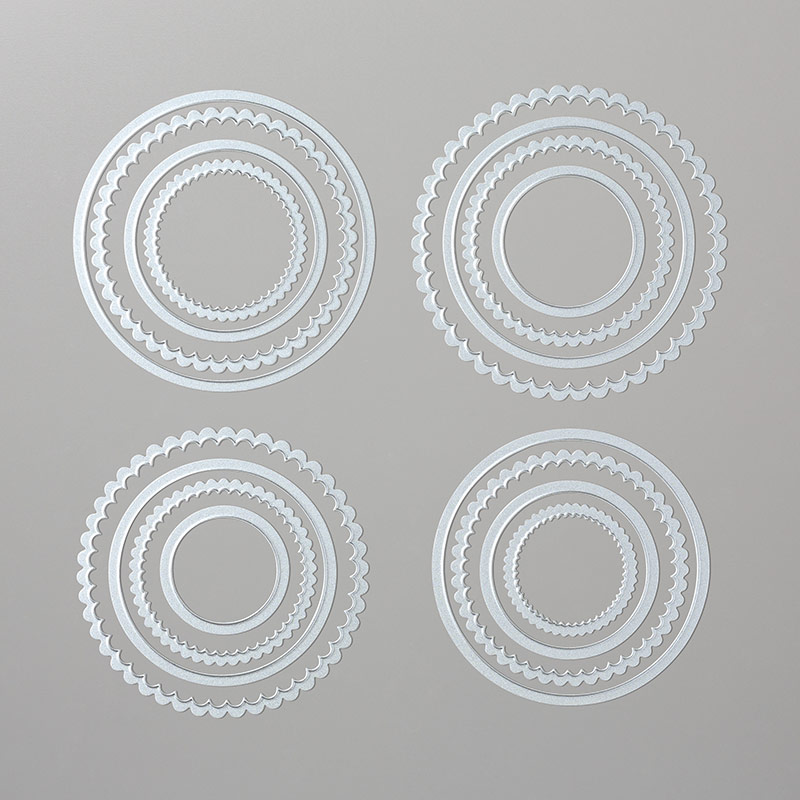
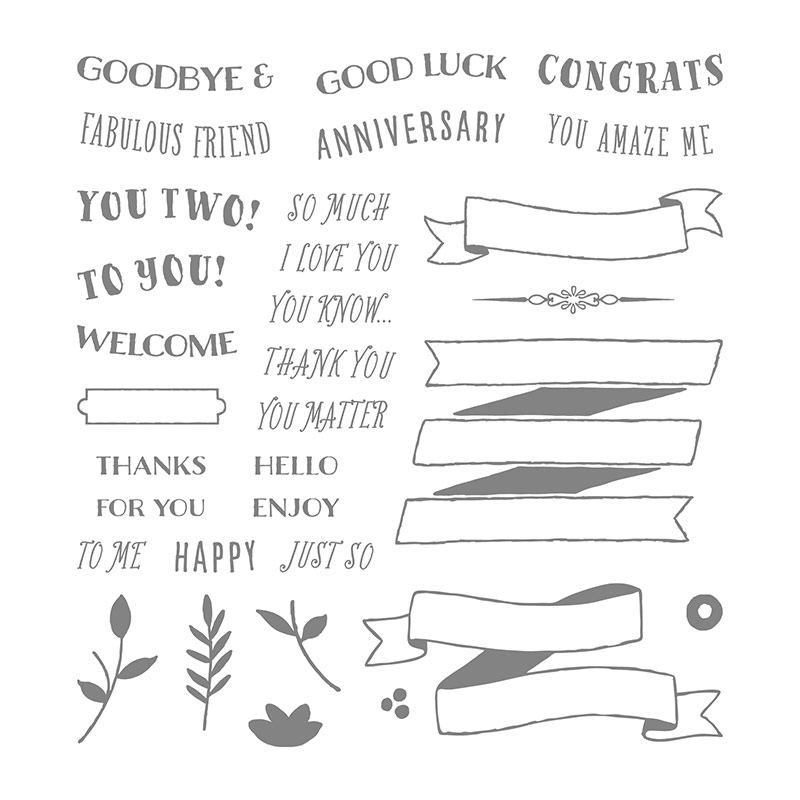
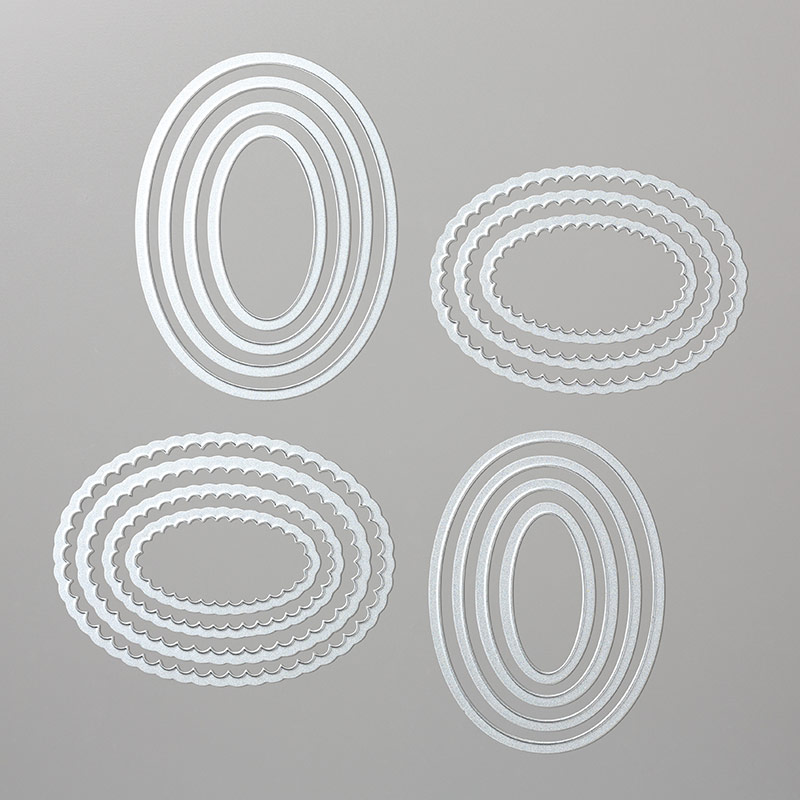
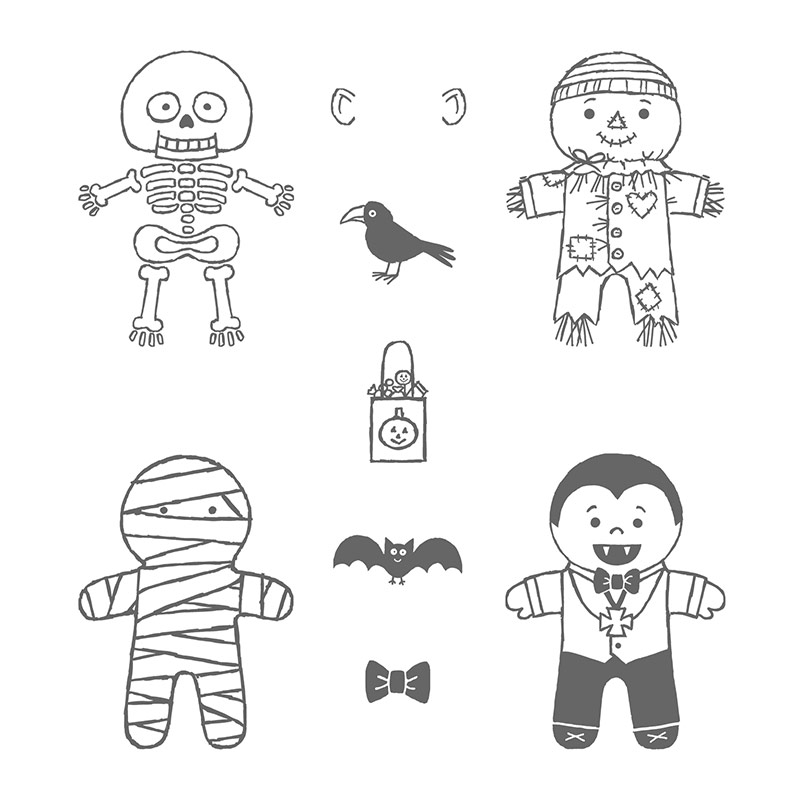
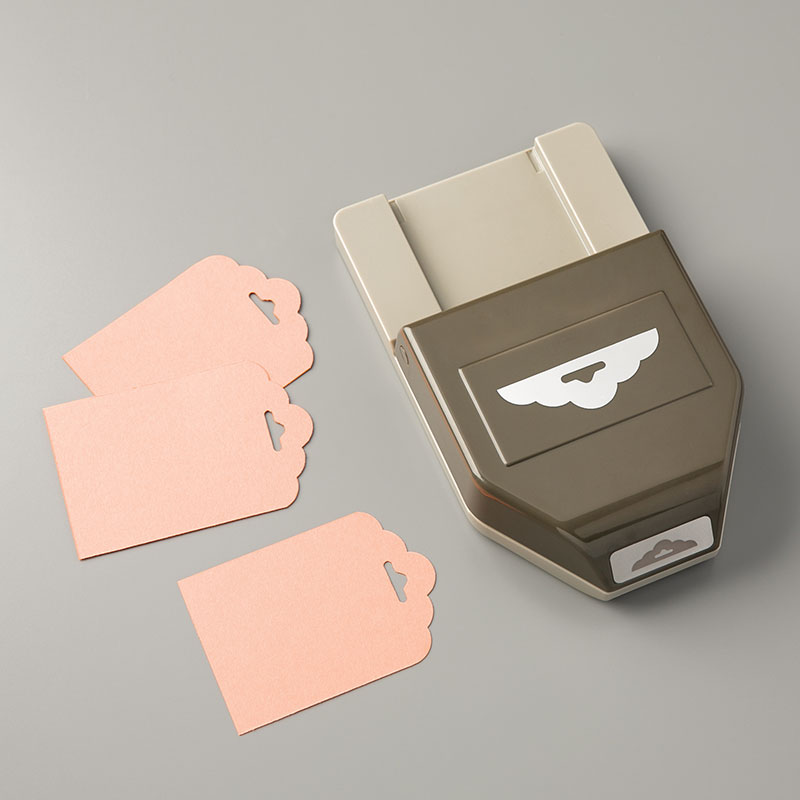
Finally, we stamped "Wishing You a Season Filled with Warmth & Cheer" in Real Red ink (from the Wrapped in Warmth Stamp Set) and die-cut the sentiment with the Tags & Labels Framelits.  Check out all of the images and sentiments in this super-cute stamp set below.  We also layered our sentiment on top of another piece of Early Espresso cardstock die-cut from the same framelits.

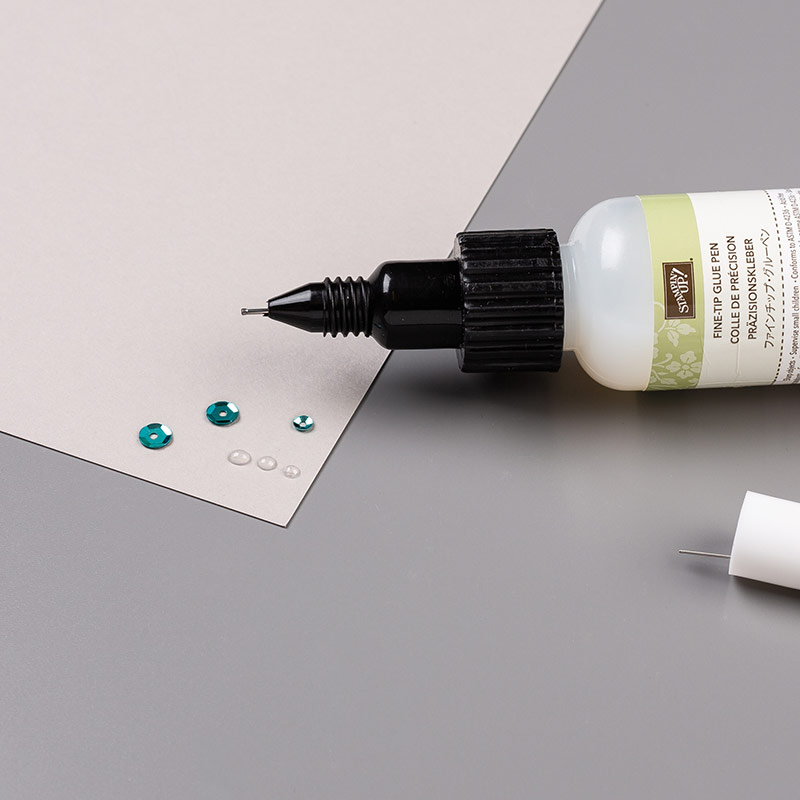
Then, we added a couple of Rhinestones to our sentiment to make it sparkle!


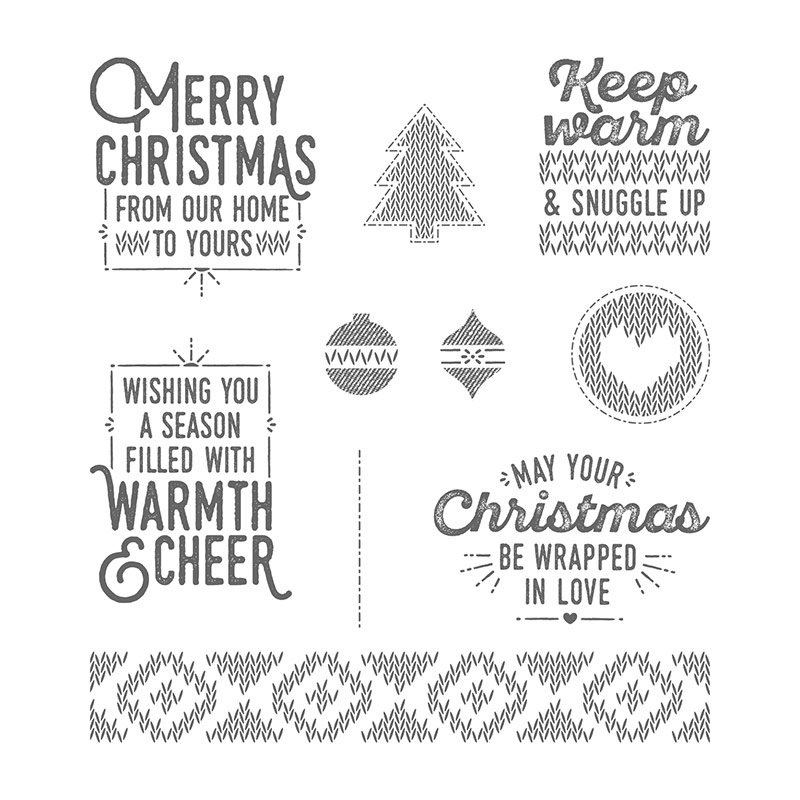
Wrapped in Warmth Stamp Set  wood-mount  142051  $28.00
Wrapped in Warmth Stamp Set clear-mount  142054  $20.00


Tags & Labels Framelits  138282  $27.00


Rhinestone Basic Jewels  119246  $5.00


I hope you enjoyed this card!

I'd love to have you join us at this Stamp-a-Stack Class on Saturday, October 22 anytime from 10am-4pm.  You'll make 12 cards (3 each of 4 designs, including this one!) and receive the Wrapped in Warmth Stamp Set (or $20 in product of your choice) for a $35 fee.  This class is a great deal and a great way to get your holiday card-making started early!


I hope you have an Inskpired day!

Sunday, September 25, 2016

By the Shore Scrapbook Pages


These are two of the fun pages we made last month at our Scrapbook Class.  This is another great class option for you.  This class meets the last Tuesday of every month anytime from 4-9pm.  We make three 12x12 page layouts for $15, or your class is FREE with an order that day.

  The next class meets on Tuesday, September 27 anytime from 4-9pm.

Just email me to sign up for the next Scrapbook Class today!

Ok, let's see these pages.....


We start our page with a Dapper Denim base.  Then, we added 3 rectangle pieces of Very Vanilla card stock to the top of our page. 


We also layered 3 pieces of the By the Shore Designer Series Paper on our Very Vanilla pieces and added a Dapper Denim Ruched Ribbon bow to our center piece.


By the Shore Designer Series Paper  141640  $11.00


Dapper Denim  3/8" Ruched Ribbon  141424  $8.00


We had LOTS of fun with the bottom of our page....

We embossed a couple of Very Vanilla pieces with the Seaside Embossing Folder.  Then, we added a strip of the By the Shore Designer Series Paper (those little fish are so cute!).  And finally....., we stamped those water splotches from the Swirly Bird Stamp Set on our "sand" (using Soft Suede ink and card stock).


Seaside Embossing Folder  141481  $8.50


Swirly Bird Photopolymer Stamp Set  141749  $25.00


Here's a peak at our next page....


We start this page with a Very Vanilla base, then added a strip of the By the Shore Designer Series Paper (it looks like an awesome nautical awning on our page!), along with a piece of the Gold 1/4" Natural Trim (to further accent our awning).


Gold 1/4" Natural Trim  141484  $7.00


Next, we stamped that awesome anchor from the Guy Greetings Stamp Set in Dapper Denim ink and die-cut it with our Layering Circles Framelits.  I just love those little scallops on the new Layering Circles Framelits!


Guy Greetings Stamp Set  wood-mount  138825  $52.00
Guy Greetings Stamp Set  clear-mount  138828  $39.00
Guy Greetings Stamp Set   photopolymer  137178  $26.00


Layering Circles Framelits  141705  $35.00


Here's a peak at the bottom of our second page.....


We added the same Very Vanilla pieces embossed with the Seaside Embossing Folder, another strip of the By the Shore Designer Series Paper and some more "sand" in Soft Suede card stock.  We ripped one of the pieces to give our "sand" some texture.


I hope you enjoyed these pages!

I'd love to have you join us at the next Scrapbook Class on Tuesday, September 27 anytime from 4-9pm.  Just email me to sign up today!


I hope you were Inkspired today.

Thursday, September 22, 2016

Swirly Scribbles... Thank You


This pumpkin is so cute!!  And...   he's lots of fun to make with the new Swirly Scribbles Framelits.  The ideas for these framelits are endless - find LOTS of ideas on Pinterest by searching "Stampin Up Swirly Scribbles Framelits".

I think everyone enjoyed making this card at our September All-Occasion Card Class.

Don't miss out on the next All-Occasion Card Class down at the Stamp Studio.  This class meets the 2nd Wednesday of every month anytime from 4-9pm and the following Friday from 1-3pm.  We make 4 cards for $15, or your class is FREE with an order that day!

The next class meets on Wednesday, October 14 from 4-9pm or Friday, October 16 from 1-3pm.  Just email me to sign up for the next class today!

Ok, now to learn more about our card....


We start our card with an Early Espresso card base, then added a layer of Crumb Cake card stock. followed by a layer of Whisper White card stock embossed with the Seaside Embossing Folder.  When you turn this embossing folder sideways, it kind of looks like bark on a tree rather than waves in an ocean - what do yo think....  do you agree??


Seaside Embossing Folder  141481  $8.50


Next, we die-cut our pumpkin using the Swirly Scribbles Thinlits and Pumpkin Pie card stock. Make sure you have your Big Shot Die Brush handy to help release the card stock from the die!   We also die-cut our leaves (with the same framelits) using Old Olive card stock.

The Fine-Tip Glue Pen and the Silicone Craft Sheet work well when trying to put adhesive on the thin swirls (and help keep the adhesive off your work surface, too!).


Swirly Scribbles Thinlits  141497  $27.00


Big Shot Die Brush  140603  $11.00


Fine Tip Glue Pen  138309  $7.00


Silicone Craft Sheet  127853  $6.00


Then, we stamped "thank you" from the Banners for You Stamp Set in Early Espresso ink.  Did you know that you can curve the photopolymer stamps when you put them on the clear blocks??  It works great to help make the "thank you" sentiment fit in the Duet Banner Punch.

We also added another banner behind our sentiment in Early Espresso card stock - the two banners in the Duet Banner Punch work great together when layered like we did on our card.


Banners for You Stamp Set  141710  $27.00


Duet Banner Punch  141483  $18.00


Finally, we made a bow using one strand from the Kraft Rope Trim (just pull the strands apart to reveal 3 layers of kinky Kraft Rope Trim!) and added it to our pumpkin.


Kraft Rope Trim  141996  $5.00


I hope you enjoyed this card!


Don't forget to sign up for the next All-Occasion Card Class down at the Stamp Studio on either Wednesday, October 14 anytime from 4-9pm or Friday, October 16 from 1-3pm.  Just email me to sign up today!


I hope you have an Inspired day!


Monday, September 19, 2016

Scenic Sayings... Congratulations


Here's another beautiful fall-inspired card for you today....

I really like the Moroccan Designer Series Paper right now - it's another perfect accent for our fall projects!

This is one of the cards we made at our Scenic Sayings Stamp-a-Stack class last month. I do try to keep these cards simple as we make a whole stack of them at class (and I don't want to stress anyone out by making the cards too complicated!).


We start our card with a Dapper Denim card base, then added a layer of Very Vanilla card stock, followed with a piece of the gorgeous Moroccan Designer Series Paper to the bottom of our card.

Moroccan Designer Series Paper  141645  $11.00


Before adding these layers to our card, we put a strip of the Burlap Ribbon around our layers.  This burlap ribbon adds some great texture to any project!


Burlap Ribbon  141487  $7.00


Next, we stamped "congrats" from the Scenic Sayings Stamp set and then die-cut it with our Layering Oval Framelits.  We also added this oval to a slightly larger Delightful Dijon Oval die-cut from the same framelits.


Scenic Sayings Stamp Set  wood-mount  141599  $27.00
Scenic Sayings Stamp Set  clear-mount  141602  $19.00


Layering Oval Framelits  141706  $35.00


I hope you enjoyed this card!

If you'd like to make fun cards like this, consider attending the All-Occasion Card Class down at the Gathering Inkspiration Stamp Studio.

This class meets the second Wednesday of every month anytime from 4-9pm and the following Friday from 1-3pm.  We make 4 cards for a $15 fee, or your class is FREE with an order that day!

The next class meets on Wednesday, October 12 from 4-9pm and Friday, October 14 from 1-3pm.

Email me to sign up for the next class today!


I hope you have an Inkspired day!


Friday, September 16, 2016

Cookie Cutter Happy Birthday


This is one of the super-cute projects that we made the other night at our
Annual Customer Appreciation Event.

To see more about the fun we had at this event, check it out here!

Now to learn more about our card.....

I am totally in love with the new Petals & Paisleys Specialty Designer Series Paper and the fun Cookie Cutter Halloween Stamp Set.  Look at how well they work together here....


We start our card with a Rich Razzleberry card base, then added a strip of the Petals & Paisleys Specialty Designer Series Paper to our card.  The colors and patterns on this designer series paper are so rich and beautiful for fall!

Petals & Paisleys Specialty Designer Series Paper  142017  $13.00


Next, we stamped our cute fall scarecrow (from the Cookie Cutter Halloween Stamp Set) in Early Espresso ink and added some color to him with our Rich Razzleberry and Delightful Dijon markers.  We punched him out with our coordinating Cookie Cutter Builder Punch.


Cookie Cutter Halloween Stamp Set  wood-mount  142252  $23.00
Cookie Cutter Halloween Stamp Set  clear-mount  142255  $17.00


Cookie Cutter Builder Punch  140396  $18.00


Then, we added our scarecrow to a Crumb Cake 2" wide piece of cardstock that we punched with our Scalloped Tag Topper Punch.  We also added a couple of strands of Kraft Rope Trim (just pull the strands apart to reveal 3 layers of kinky Kraft Rope Trim!) to our tag.


Scalloped Tag Topper Punch  133324  $23.00


Kraft Rope Trim  141996  $5.00


Finally, we stamped "happy birthday" from the Endless Birthday Wishes Stamp Set on our tag.  We added the tag to our card using Stampin' Dimensionals.  These dimensionals create a little lift and dimension on our card - I think I use them on just about every project!


Endless Birthday Wishes Photopolymer Stamp Set  140273  $16.00


Stampin' Dimensionals  104430  $4.00


I hope you enjoyed this card!


Just for your enjoyment....

Here are a couple more Stampin' Up! videos featuring new Holiday Catalog Product....


I hope you were Inkspired today!!