
This pumpkin is so cute!! And... he's lots of fun to make with the new Swirly Scribbles Framelits. The ideas for these framelits are endless - find LOTS of ideas on Pinterest by searching "Stampin Up Swirly Scribbles Framelits".
I think everyone enjoyed making this card at our September All-Occasion Card Class.
Don't miss out on the next All-Occasion Card Class down at the Stamp Studio. This class meets the 2nd Wednesday of every month anytime from 4-9pm and the following Friday from 1-3pm. We make 4 cards for $15, or your class is FREE with an order that day!
The next class meets on Wednesday, October 14 from 4-9pm or Friday, October 16 from 1-3pm. Just email me to sign up for the next class today!
Ok, now to learn more about our card....

We start our card with an Early Espresso card base, then added a layer of Crumb Cake card stock. followed by a layer of Whisper White card stock embossed with the Seaside Embossing Folder. When you turn this embossing folder sideways, it kind of looks like bark on a tree rather than waves in an ocean - what do yo think.... do you agree??
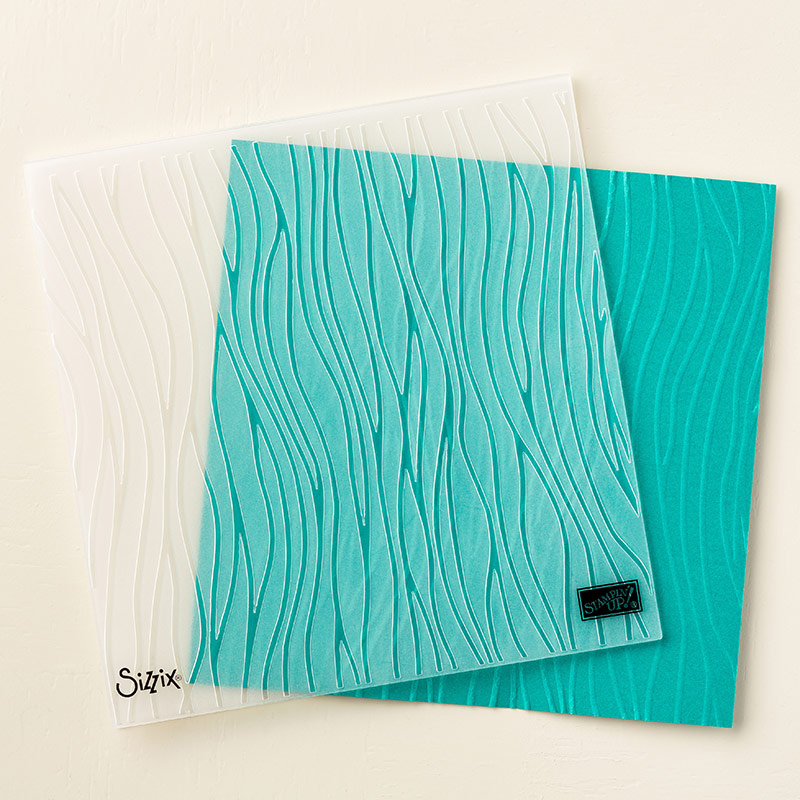
Seaside Embossing Folder 141481 $8.50

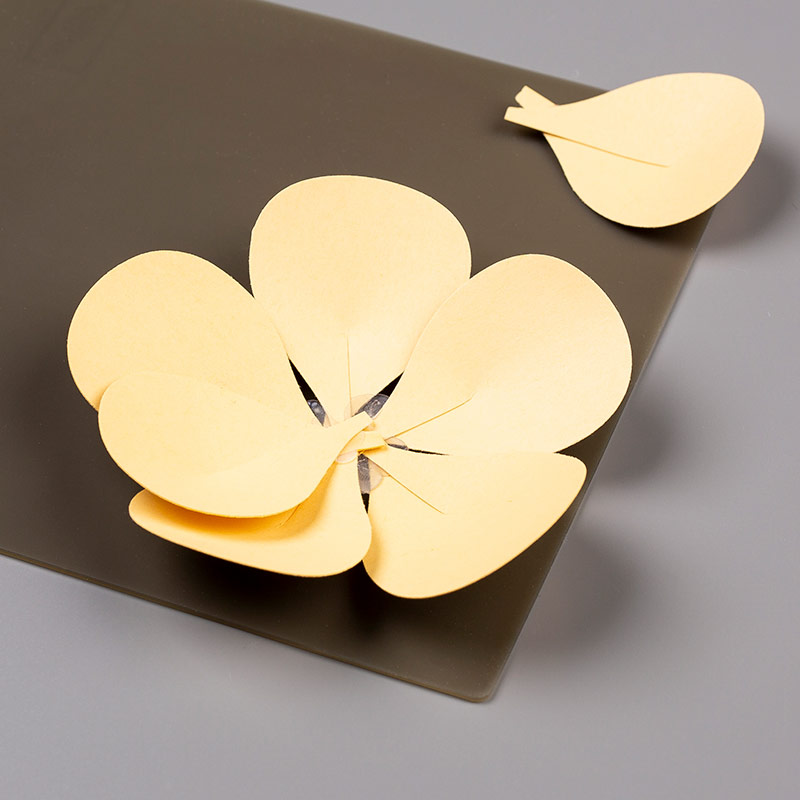
Next, we die-cut our pumpkin using the Swirly Scribbles Thinlits and Pumpkin Pie card stock. Make sure you have your Big Shot Die Brush handy to help release the card stock from the die! We also die-cut our leaves (with the same framelits) using Old Olive card stock.
The Fine-Tip Glue Pen and the Silicone Craft Sheet work well when trying to put adhesive on the thin swirls (and help keep the adhesive off your work surface, too!).
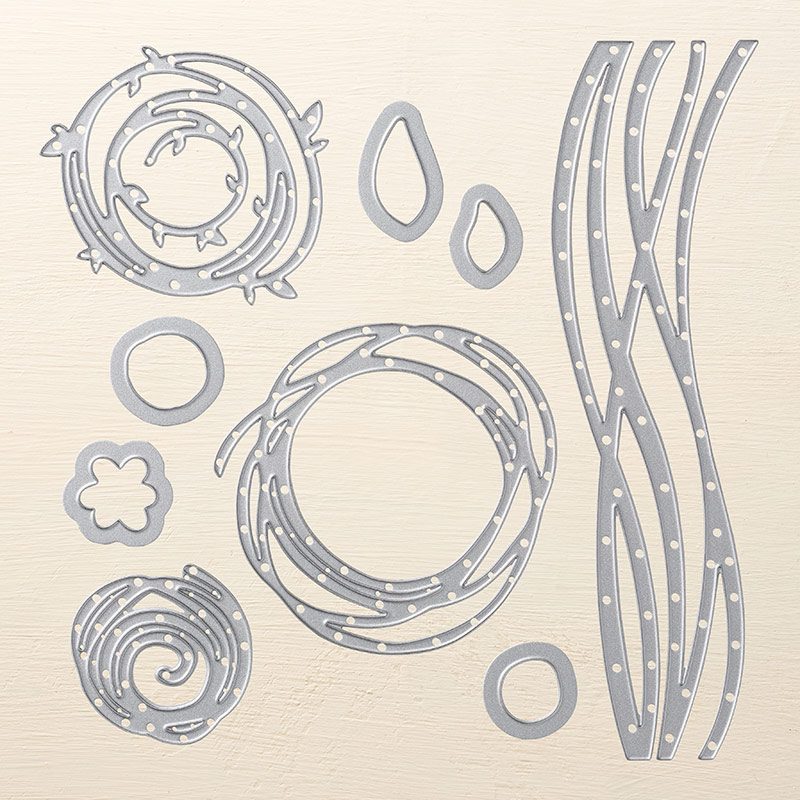
Swirly Scribbles Thinlits 141497 $27.00
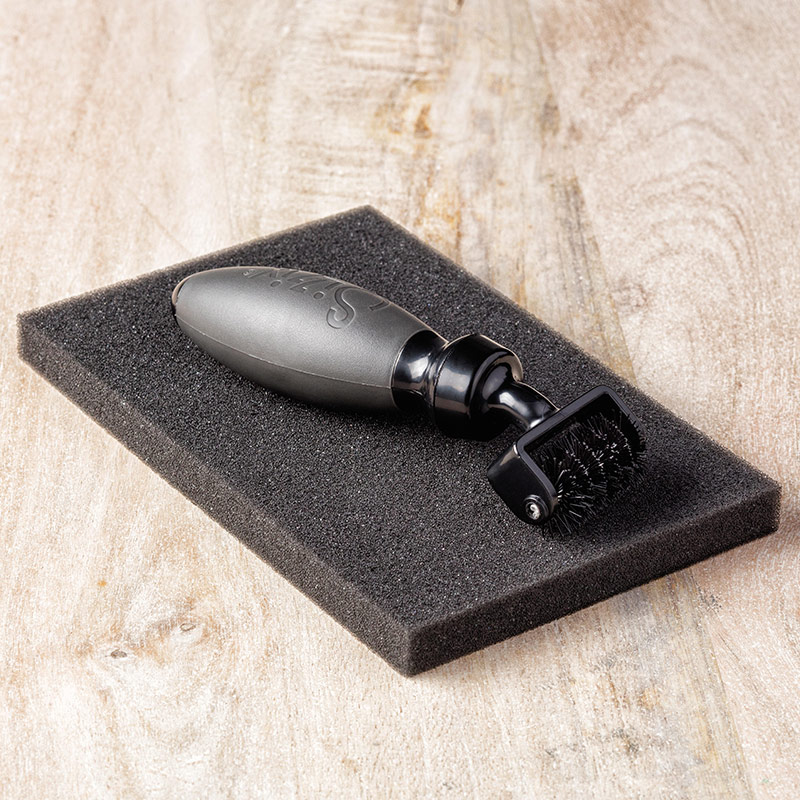
Big Shot Die Brush 140603 $11.00
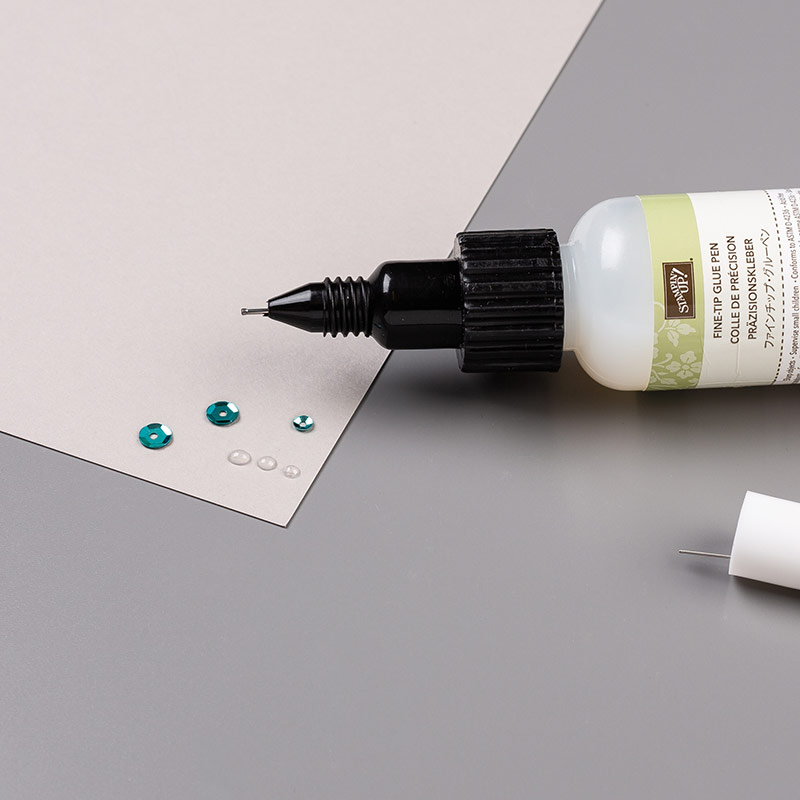
Fine Tip Glue Pen 138309 $7.00
Silicone Craft Sheet 127853 $6.00

Then, we stamped "thank you" from the Banners for You Stamp Set in Early Espresso ink. Did you know that you can curve the photopolymer stamps when you put them on the clear blocks?? It works great to help make the "thank you" sentiment fit in the Duet Banner Punch.
We also added another banner behind our sentiment in Early Espresso card stock - the two banners in the Duet Banner Punch work great together when layered like we did on our card.
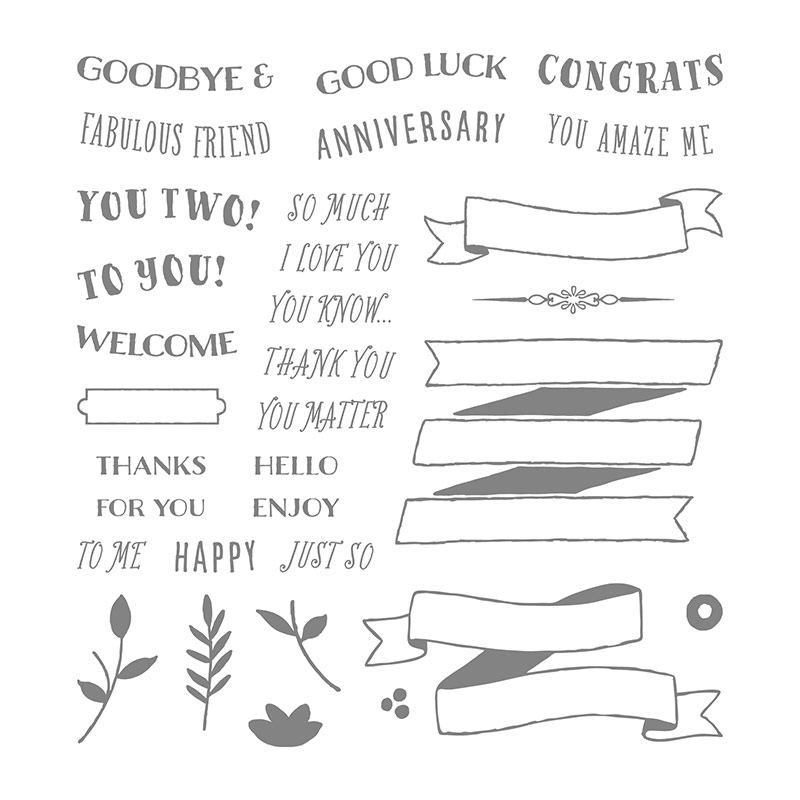
Banners for You Stamp Set 141710 $27.00
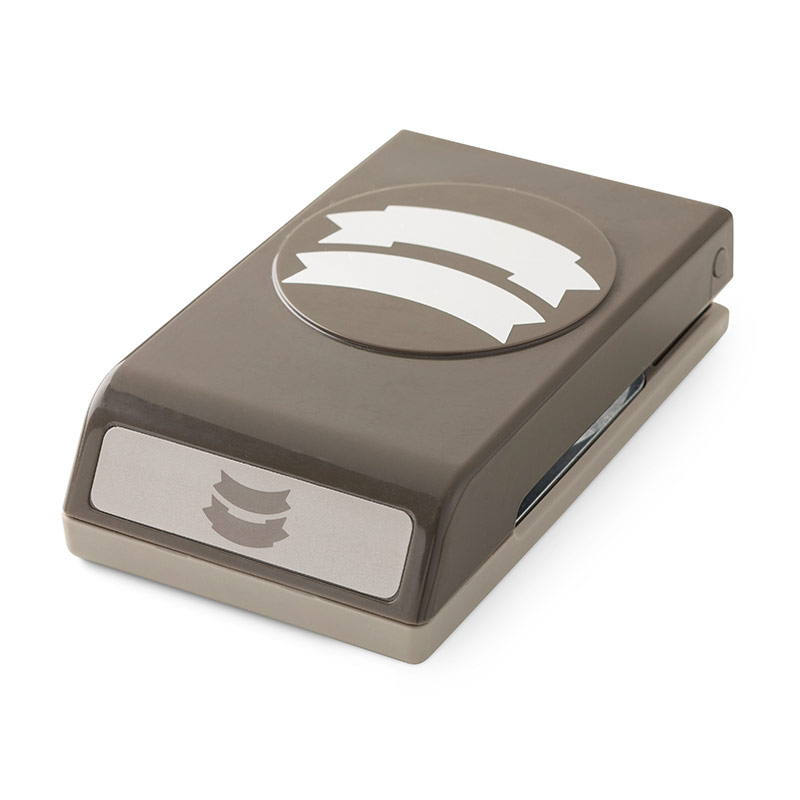
Duet Banner Punch 141483 $18.00

Finally, we made a bow using one strand from the Kraft Rope Trim (just pull the
strands apart to reveal 3 layers of kinky Kraft Rope Trim!) and added it to our pumpkin.
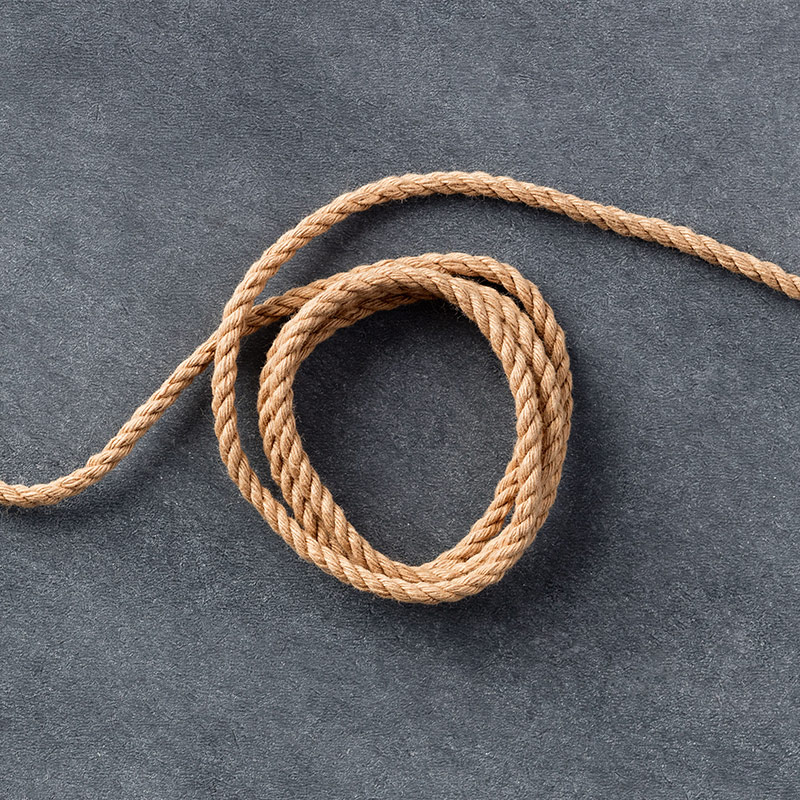
Kraft Rope Trim 141996 $5.00
I hope you enjoyed this card!

Don't forget to sign up for the next All-Occasion Card Class down at the Stamp Studio on either Wednesday, October 14 anytime from 4-9pm or Friday, October 16 from 1-3pm. Just email me to sign up today!
I hope you have an Inspired day!

No comments:
Post a Comment