Before I get started on my post today, I have to take a moment to wish my daughter, Lilly, a happy 13th birthday!! The teenage years are upon us!! She's been a super-sweet kid so far (with some "other" moments sprinkled in....), but I'm sure hoping she keeps it mostly super-sweet these next few years (wish me luck!!).
This is Lilly and I on the beach in Glen Arbor, MI earlier this summer
(and, yes, she's already taller than me!!).
Happy Birthday, Lilly :)
I love you so much and am grateful every day that I get to call you my daughter!
Ok, enough sappiness... now on to our pages.... :)
This is Lilly and I on the beach in Glen Arbor, MI earlier this summer
(and, yes, she's already taller than me!!).
Happy Birthday, Lilly :)
I love you so much and am grateful every day that I get to call you my daughter!
Ok, enough sappiness... now on to our pages.... :)
We start our first page with a Whisper White base, then added a piece of Wisteria Wonder card stock to our page. I just love doing this, especially with our limited number of colors of 12x12 card stock in the current Annual Catalog (it's the perfect work-around for this "problem")!
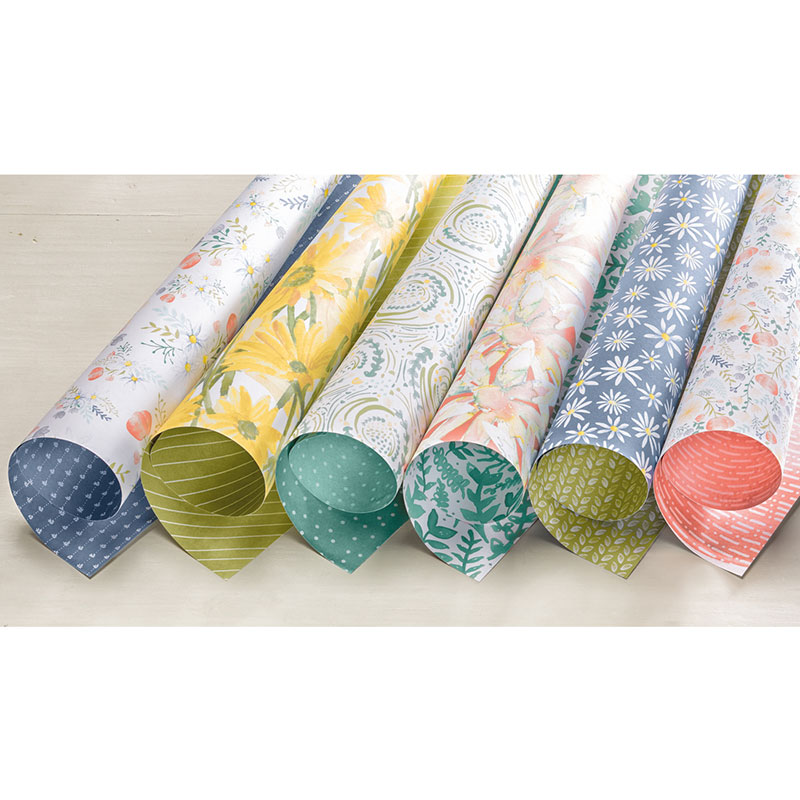
Then, we added a strip of the Delightful Daisy Designer Series Paper to the bottom of our page.
Delightful Daisy Designer Series Paper 144137
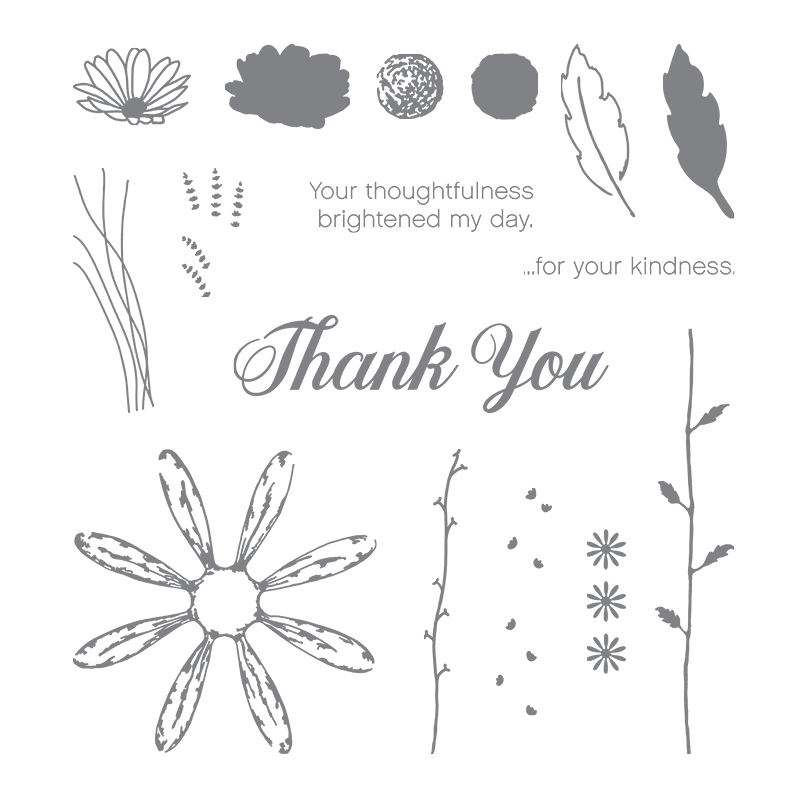
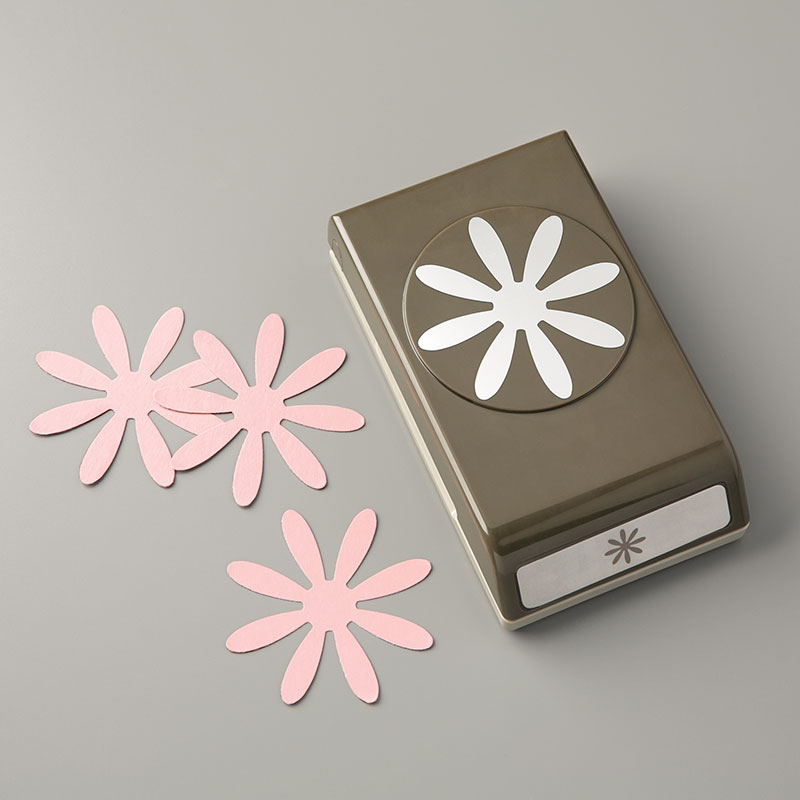
Next, we stamped our daisies in Peekaboo Peach ink (on Peekaboo Peach card stock) using the Daisy Delight Stamp Set and punched them out with the Daisy Punch.
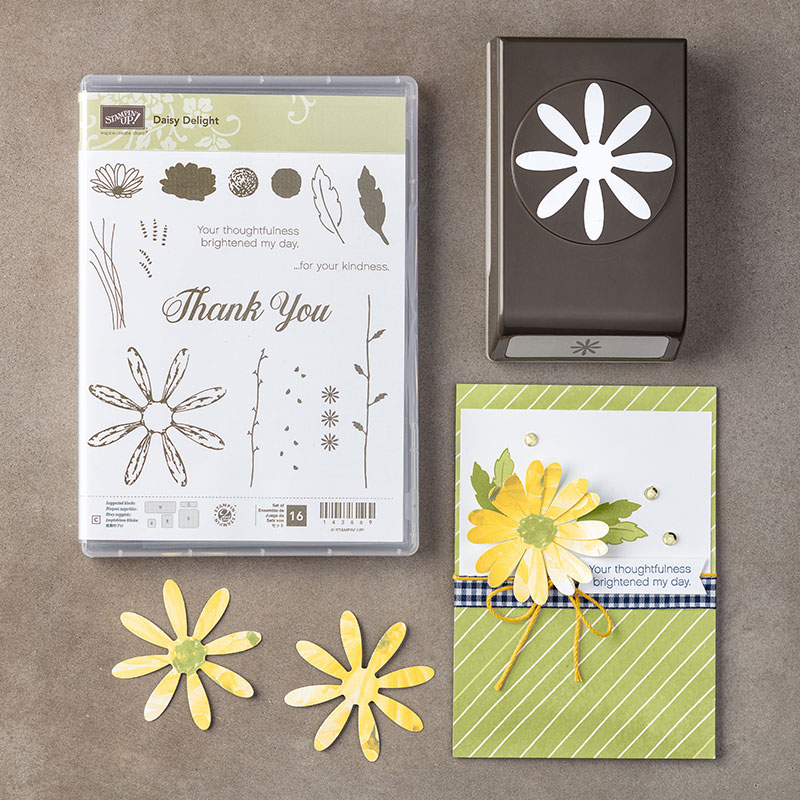
You can purchase the Daisy Delight Stamp Set and punch separately, or save 10% when you buy them in the bundle!
We also added a Daffodil Delight 1/2" Circle to the center of our daisies, as well as a Clear Faceted Gem (these gems are beautiful!!).
Daisy Delight Stamp Set 143669
Daisy Punch 143713
Daisy Delight Bundle 145361
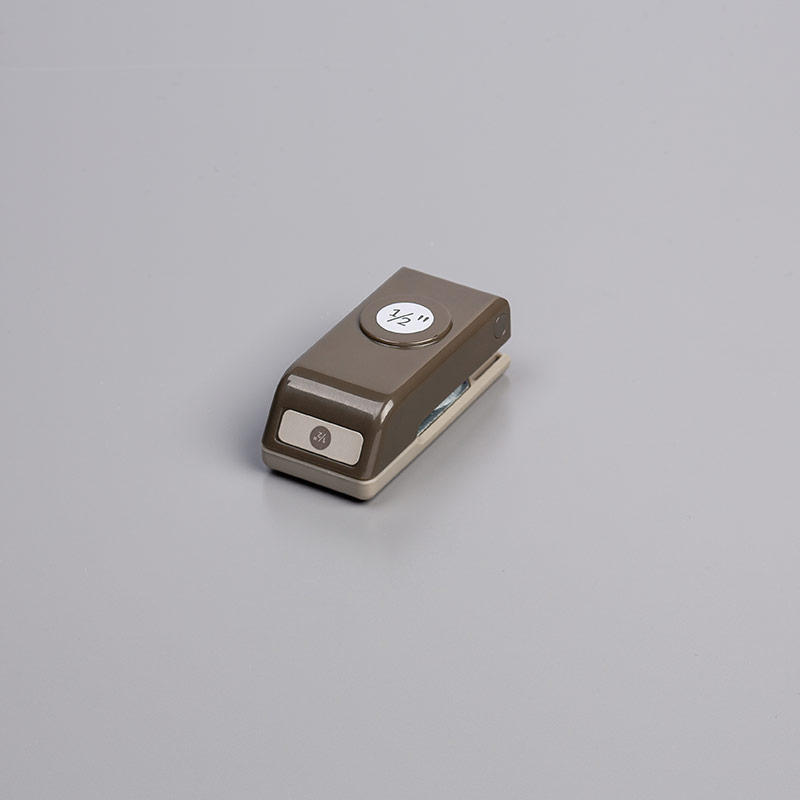
1/2" Circle Punch 119869
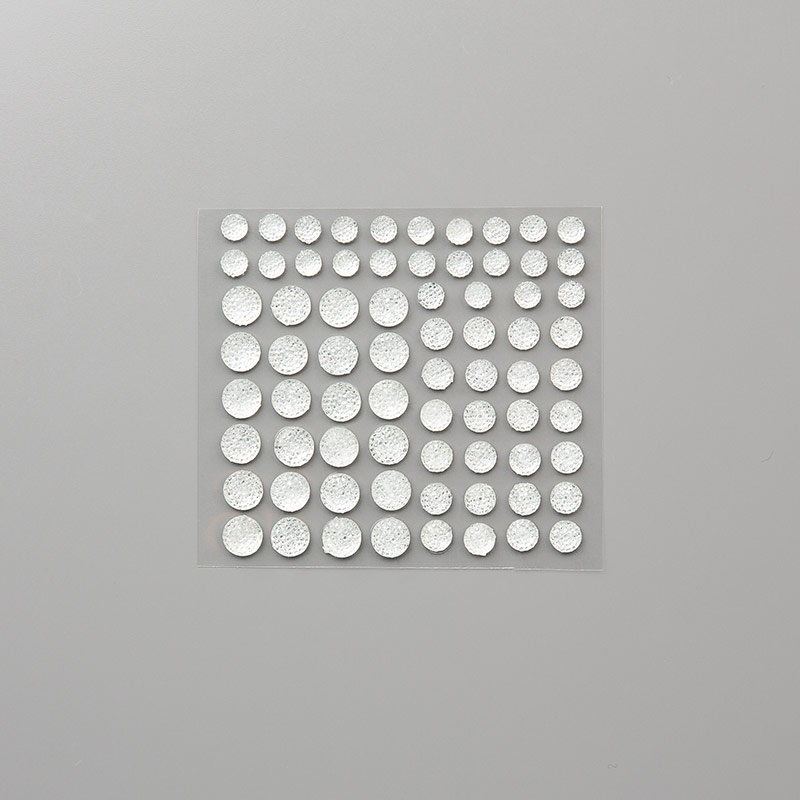
Clear Faceted Gems 144142
Here's a peak at our 2nd page....
It has a similar layout with the Whisper White base page, another piece of Wisteria Wonder card stock (placed vertically on the page this time) and a strip of Delightful Daisy Designer Series Paper (DSP) along the side of the page.
This time though...
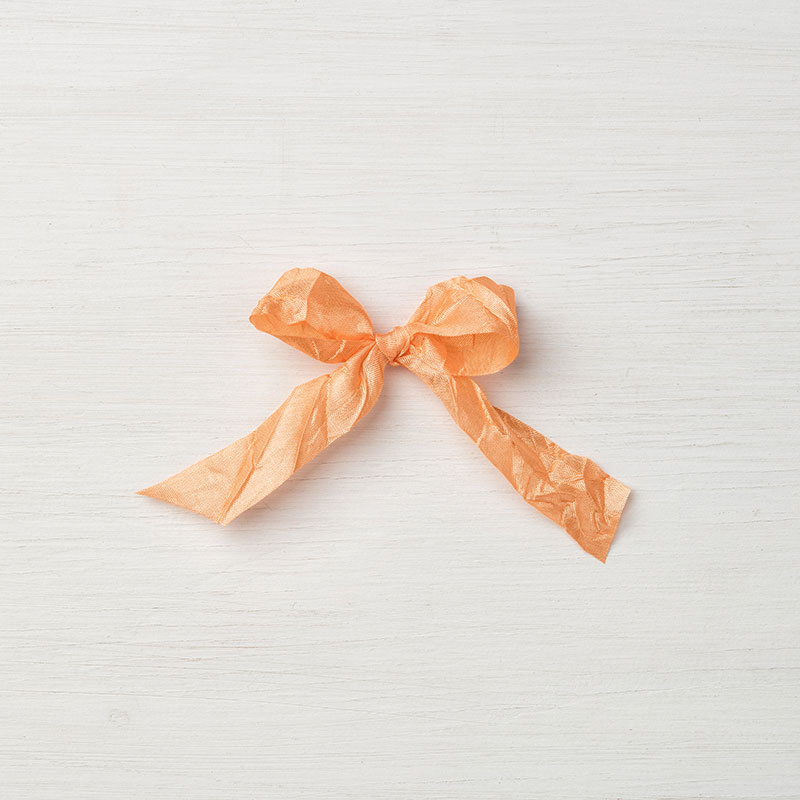
We tied a gorgeous Peekaboo Peach Crinkled Seam Binding bow around our strip of DSP.
We also punched 2 daisies using Daffodil Delight card stock and our Daisy Punch. And... we added an Old Olive 1/2" Circle to the center of our daisy, as well as a Gold Faceted Gem.
Peekaboo Peach Crinkled Seam Binding Ribbon 144192
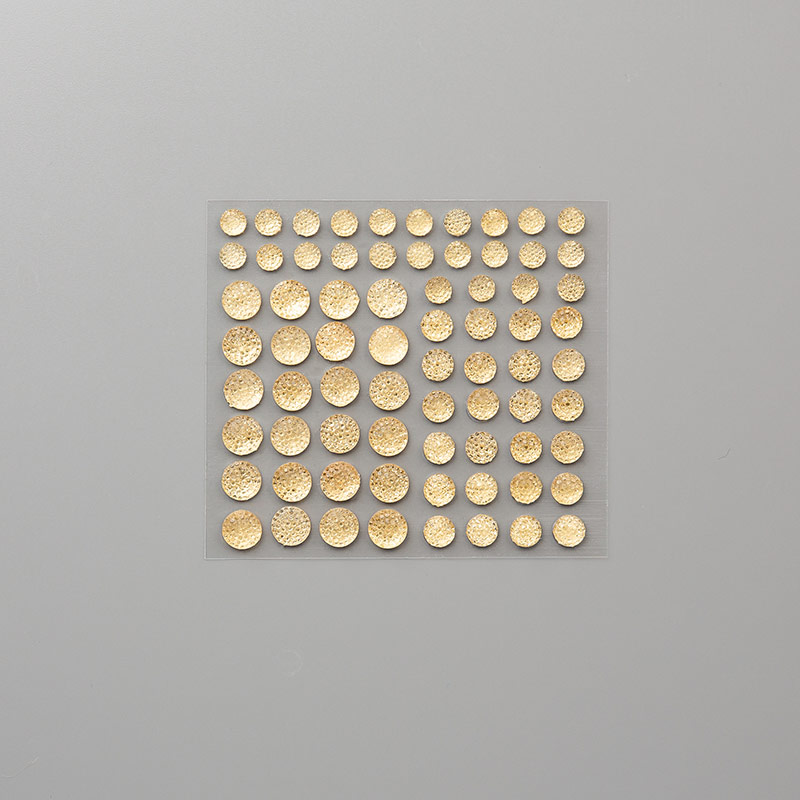
Gold Faceted Gems 144141
Finally, we stamped those cute, little flowers (also found in the Daisy Delight Stamp Set) in Calypso Coral, Wisteria Wonder, Daffodil Delight, Pear Pizzaz and Old Olive ink along the bottom of our page.
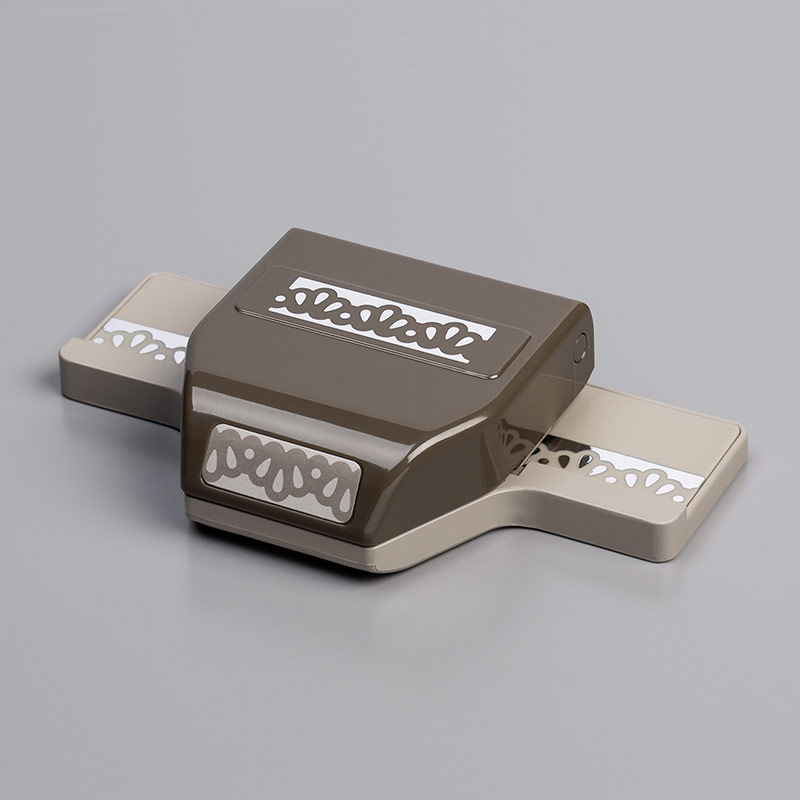
We also added an Old Olive border to the bottom of the page using the Decorative Ribbon Border Punch.
Decorative Ribbon Border Punch 143721
If you'd like to make fun scrapbook pages like this with us,
consider attending the next Scrapbook Class
at the Gathering Inkspiration Stamp Studio.
This class meets the last Tuesday of every month anytime from 4-9pm. We make three 12x12 page layouts for $15, or the class is FREE with an order!
Our next class is on Tuesday, September 26.
Just RSVP to me at amy.frillici@yahoo.com to sign up today!!
AND.....
if you're looking for more scrapbook page layouts,
check out our Gathering Inkspiration Stamp Studio Group Facebook Page here. Once you're on the page, just go to Photos, Albums, then find the Scrapbook Pages Album. I hope you enjoy!!
I hope you were Inkspired today!!







No comments:
Post a Comment