
These are the super-cute projects we made at the 3D Project/Big Shot/Gift Item class the other night.....
It was so fun to get in the mood for fall and Halloween - I just love this time of year!!
It was so fun to get in the mood for fall and Halloween - I just love this time of year!!

Here's the first project we made - it's a paper pumpkin (wow, where have i hear that before??).
I learned how to make this awesome pumpkin from Tamie Ackerson at last weekend's Creative Convention. It's really simple....

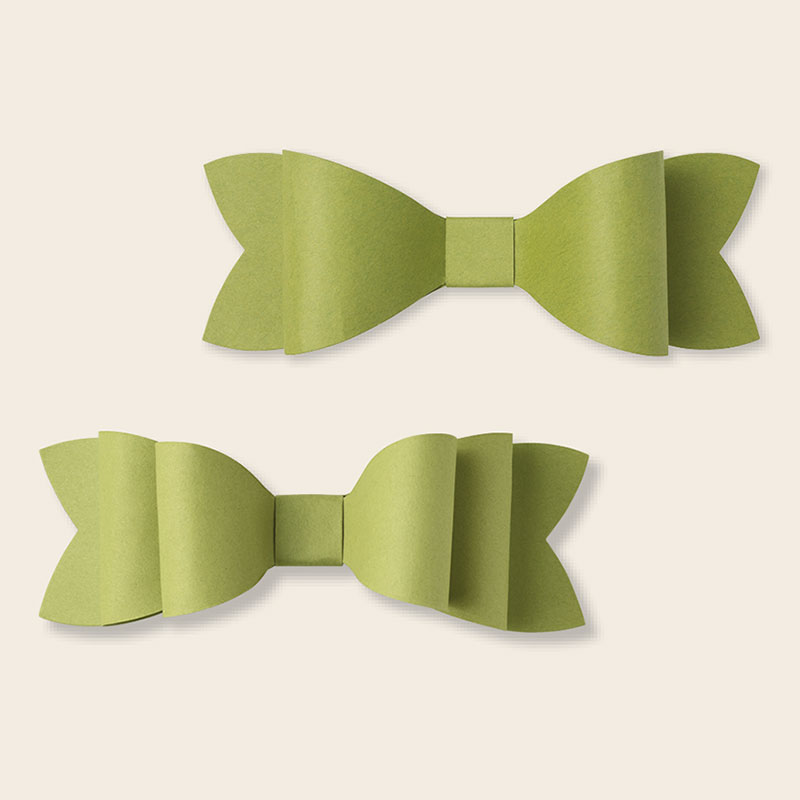
Make 4 large Pumpkin Pie bows (yes, bows!) from the Gift Bow Die, cut them in half, then stamp with the "skid marks" from the Gorgeous Grunge Stamp set and sponge the edges with Pumpkin Pie ink. Next, make 3 Always Artichoke leaves, also using the Gift Bow Die, stamp them with the smaller "water splotches" from the Gorgeous Grunge set and sponge the edges with Always Artichoke ink.
Next, punch a 2 3/8" Scallop Circle punch from Chocolate Chip card stock, stamp with the "diagonal lines" from the Gorgeous Grunge stamp set. Finally, punch two 1 3/4" circle punches for the top and bottom of the pumpkin.
To put the pumpkin together, use your bone folder to curl all of the pieces in the direction you'd like them to go first, then put adhesive on the ends of each of the Pumpkin Pie pieces and add them to one of the circle punches, spreading them evenly around the circle. I thought it was easiest to put 4 on first, like a "t", then add the other 4 in between each of those!. I did the bottom first, then adhered them to the top circle next. After this, add your leaves and curl them how you like. The smaller strands are make using 1/2" strips of Always Artichoke (also stamped with the "water splotches"). Curl those using a pencil or your Paper-Piercing tool, then add them to the top of the pumpkin. Finally, add that Chococolate Chip Scallop Circle to the top. I used hot glue to put this piece on the pumpkin (and the rest of the stem, too)
To make the stem, roll up a piece of 1 1/4" Burlap Ribbon to the width you'd like and adhere it together with hot glue. Tie some Linen Thread around the Burlap piece and add a Gold Basic Metal Button. How cute is that!!
Gift Bow Bigz L Die 129977 $32.95

Gorgeous Grunge Stamp Set wood-mount 130514 $24.95
Gorgeous Grunge Stamp Set clear-mount 130517 $17.95

Stampin' Sponges 101610 $3.50

2 3/8" Scallop Circle Punch 118874 $16.95

1 3/4" Circle Punch 119850 $16.95

1 1/4" Burlap Ribbon 132140 $7.95

Linen Thread 104199 $4.50
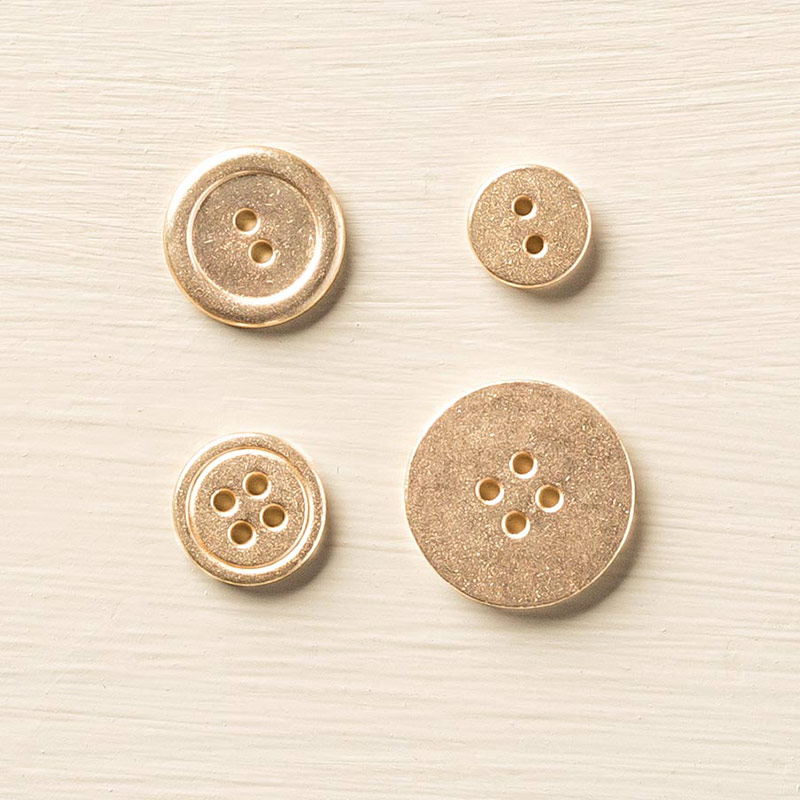
Gold Basic Metal Buttons 133763 $7.95
Now, for some fun Halloween treat bags.....

Take a Chevron Treat Bag, cut off 1/4" of the bottom of the bag. Next, score the bag at 1" along both sides and 1 1/4" along the bottom of the bag (you don't need to score the top of the bag) with your Stampin' Trimmer. Fold along score lines, then cut along the side score lines from the bottom of the bag up to the first score line to create the bottom flaps of your bag. Fold the flaps in (making "valley" folds with the sides of the bag) and adhere the bottom together with Retro Fresh Washi Tape.
Now, to create the tag...
Take a 2" x 4" piece of Whisper White Card Stock and punch the top with the Angled Tag Topper Punch. Stamp "Happy Halloween" from the Halloween Street Stamp Set in Tangerine Tango ink. Then (and this is the fun part!)... take the end of a pencil eraser, ink it with Tuxedo Black Memento Ink and stamp as many polka dots as you'd like!! Finally, tie a bow with the White & Tangerine Tango Two-Tone Baker's Twine around the bag and add the tag to the bow with some White Baker's Twine. What a cute bag!!

Chevron Treat Bag 131370 $3.95

Stampin' Trimmer 126889 $29.95

Retro Fresh Washi Tape 133001 $4.95

Angled Tag Topper Punch 133323 $22.95

Halloween Street Single Stamp 136567 $7.95

White & Tangerine Tango Two-Tone Baker's Twine 135838 $4.95

Whisper White Baker's Twine 124262 $2.95
And here's the last project we made at class...
It's another cute treat Halloween treat!!

This project also uses a Chevron Treat
Bag - this time we cut it down to 3 1/2" tall, then made a smaller bag
(just like we did above using the washi tape) - you can get 2 mini treat
bags out of one Chevron Treat Bag. We also cut two pieces of Tangerine
Tango card stock using the Top Note Die, stamped them with "boo to you"
from the Good Greetings Stamp set (get your name entered into a drawing
to win this stamp set every time you spend $50 between now and October
31!), then embossed them with the Zig Zag Embossing Folder. These two
pieces were then adhered to either side of our Mini Chevron Bag using
Tombow Multipurpose Adhesive.

Top Note Bizg Die 113463 $21.95

Tombow Multipurpose Adhesive 110755 $3.95

Good Greetings Stamp Set

Zig Zag Embossing Folder 133738 $7.95
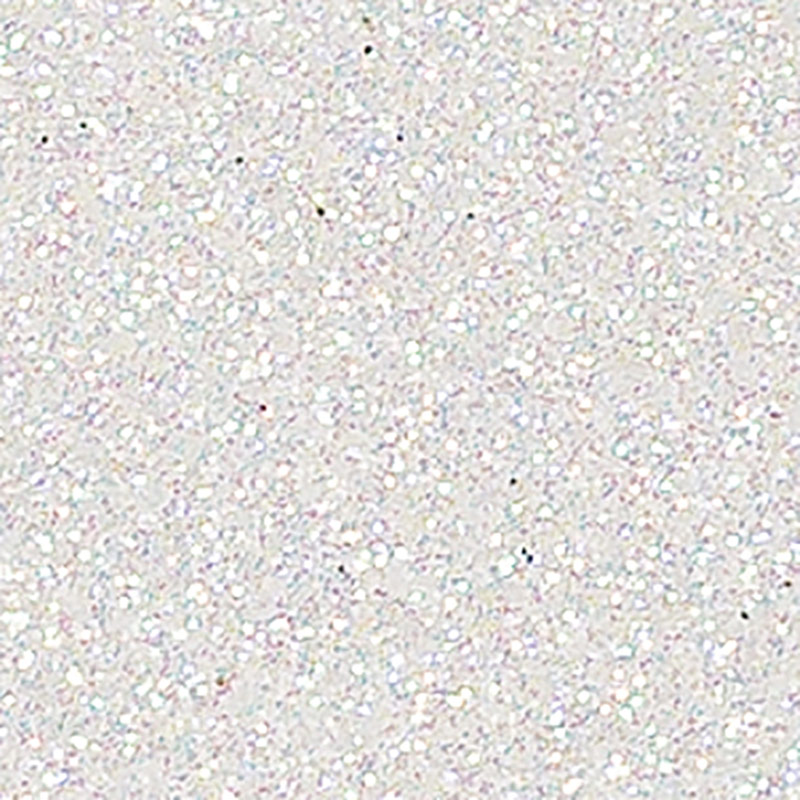
Dazzling Diamonds Glimmer Paper 135315 $4.95

Fun Fall Framelits Dies 135856 $24.95
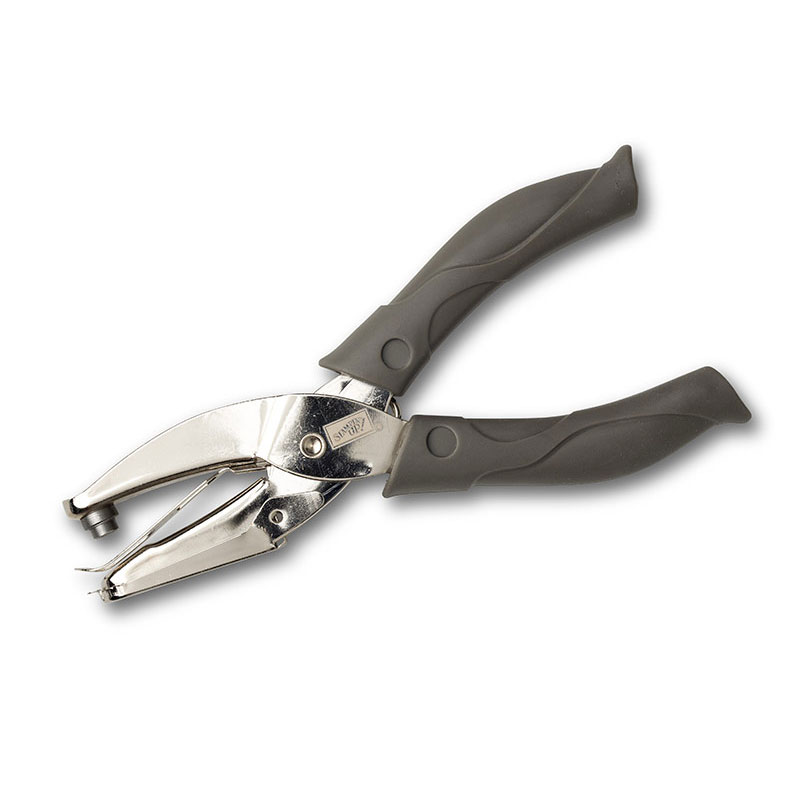
1/4" Circle Handheld Punch 134364 $8.95

Samll Oval Punch 120908 $12.95

Basic Black 3/4" Chevron Ribbon 130010 $8.95
I hope you enjoyed these projects as much as I did this month!!
Won't you join us at our next 3D Project/Big Shot/Gift Item Class??
We meet the 3rd Thursday of every month at 7pm at the Gathering Inkspiration Stamp Studio (209 E Superior St in Alma). Hope to see you soon!!
~amy
Amy Frillici
Independent Stampin' Up Demonstrator
(989) 330-0259
Join the Paper Pumpkin monthly kit Subscription program -
your 30 minute creativity escape each month!!
Visit the My Paper Pumpkin website to sign up today!
(Remember to select me as your demonstrator!)
Purchase the Starter kit today (with no future obligation)
for only $99! Become a member of my awesome
community of stamping friends!!
Click here to join:
Join now!!
No comments:
Post a Comment