Hi Friends!
I wanted to share our latest Bingo Night with you all! We typically play Bingo about 3 times a year, with the release of each new catalog. We've started playing Online Bingo, too - this is a great option for my long-distance friends!! I'll let you know as soon as we have our next live Bingo and Online Bingo Nights planned.

We always have so much fun at Bingo.... I think it's the combination of game playing, prize winning and card making that just work really well together :).
Here are pics of the make-n-takes that we made in between our Bingo rounds......
I wanted to share our latest Bingo Night with you all! We typically play Bingo about 3 times a year, with the release of each new catalog. We've started playing Online Bingo, too - this is a great option for my long-distance friends!! I'll let you know as soon as we have our next live Bingo and Online Bingo Nights planned.

We always have so much fun at Bingo.... I think it's the combination of game playing, prize winning and card making that just work really well together :).
Here are pics of the make-n-takes that we made in between our Bingo rounds......
CASE'd from Erica Cerwin
CASE'd from Mary Fish
Each person that attended Bingo also went home with ALL of this that night (on top of their Bingo winnings!!)....
I always like to give a little something to each person that attends. This time, everyone received a cute sticky note holder, along with a sample of the Whale of a Time Designer Series Paper and the Pool Party Sheer Ribbon.
Here's a close-up of this fun treat idea.....
Here's a close-up of this fun treat idea.....
To make the sticky note holder, start with a piece of Gray Granite card stock measuring 3 1/4" x 8 1/2". Score this piece at 2 1/8" and 4 1/4" (see below), and then accordian fold along the score marks.
You also need a 3 1/4" x 4 1/4" piece of Gray Granite card stock. This piece is attached to the front of the larger piece above (at the top where the 2 1/8" score mark is only). Do not adhere the bottom half of this piece to the larger piece. It should angle out over the accordian fold piece (see below).
This is what the back of the sticky note holder will look like.....
To decorate the front, adhere a 2 3/4" x 3 3/4" piece of Whisper White card stock to the front flap we just mentioned above.
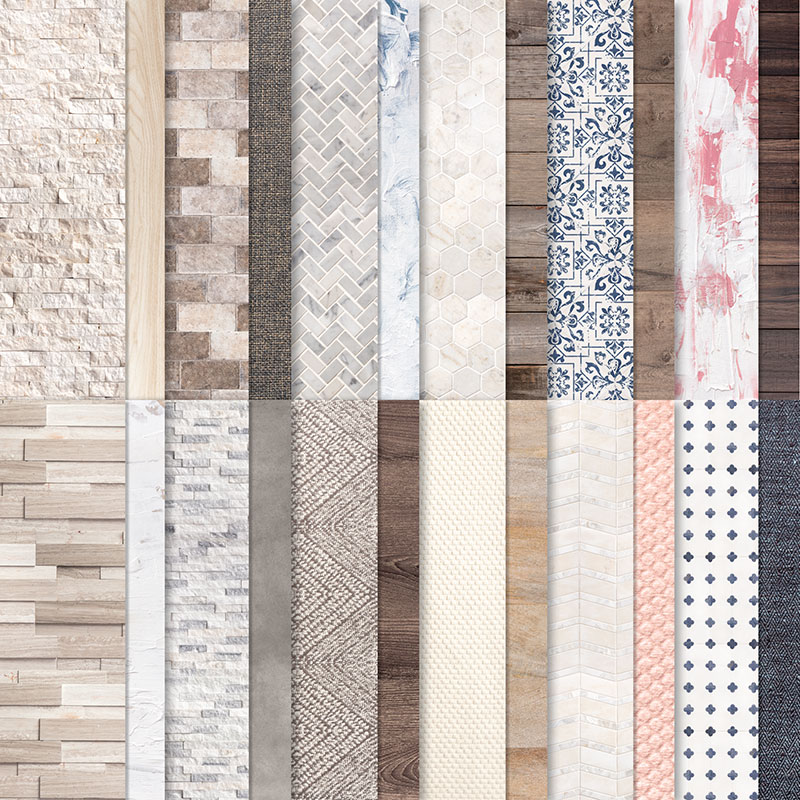
Then, adhere a 2 1/2" x 3 1/2" piece of In Good Taste Designer Series Paper to the Whisper White piece.
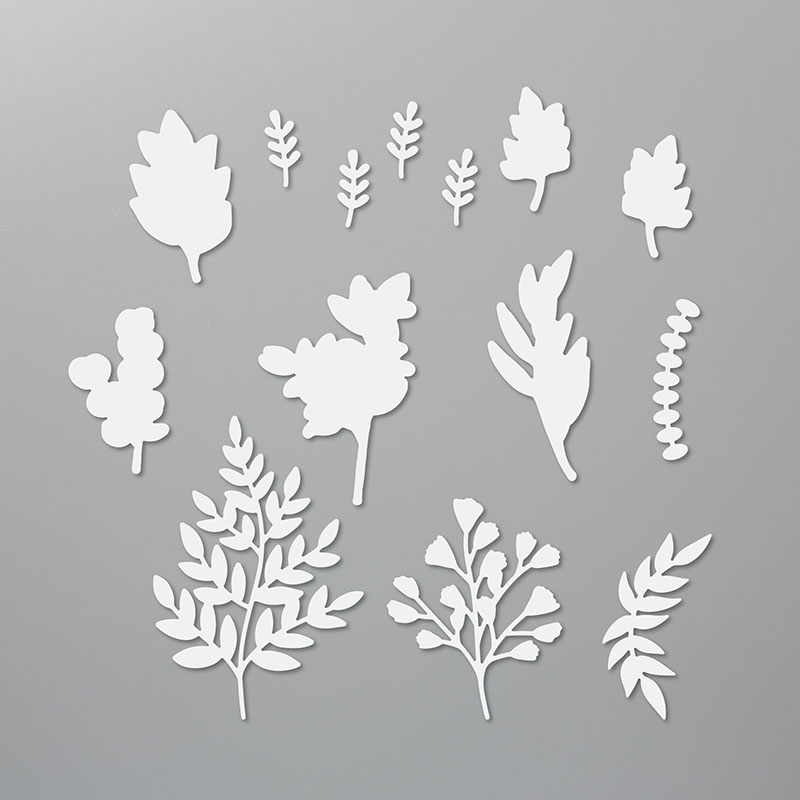
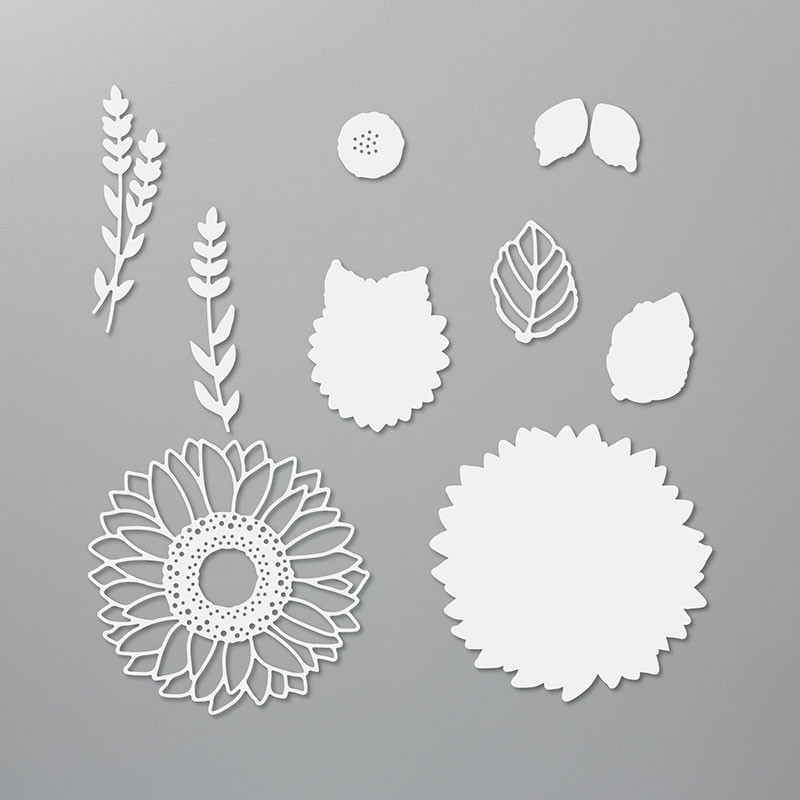
Next, die-cut the leaves from In Good Taste Designer Series Paper (using the Forever Flourishing Dies) and the Petal Pink sprigs (using the Sunflower Dies) and adhere them to the front.
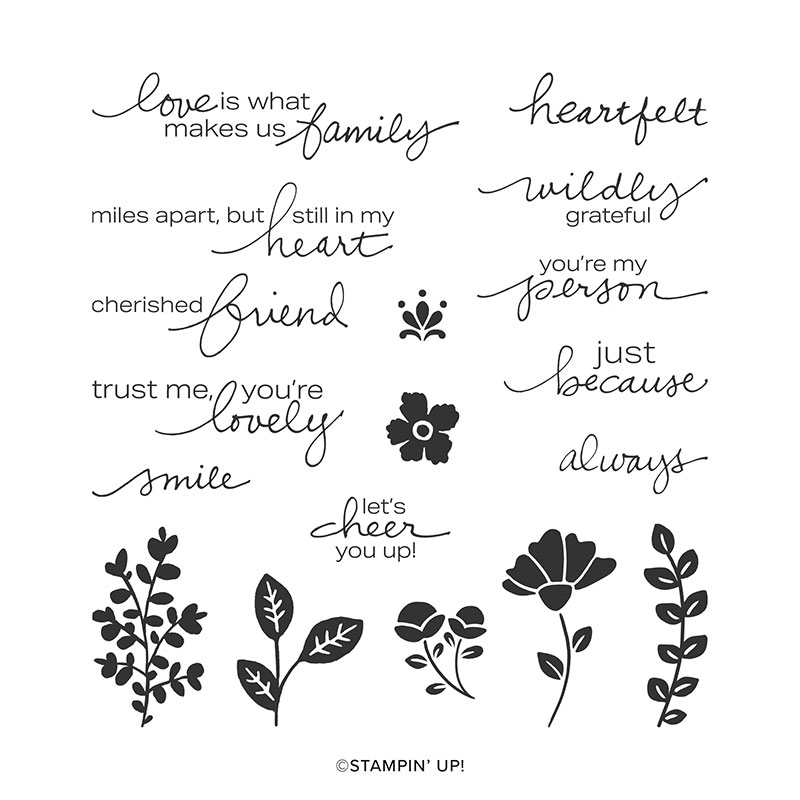
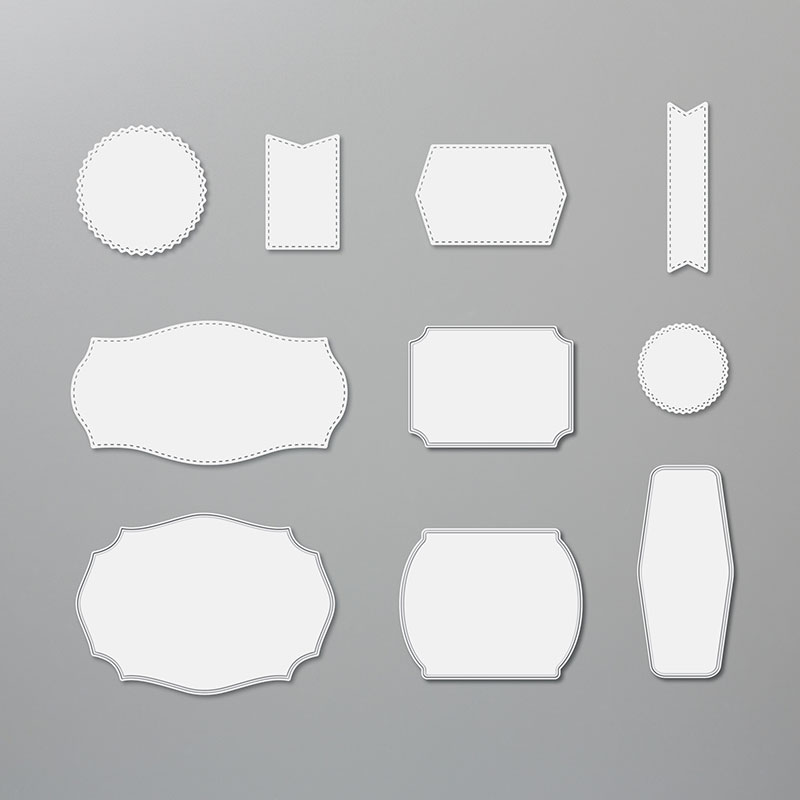
Then, stamp "Trust me, you're lovely" in Gray Granite ink on Whisper White card stock using the Lovely You Stamp Set. Die-cut with the Tasteful Labels Dies and add to the front with Dimensionals.
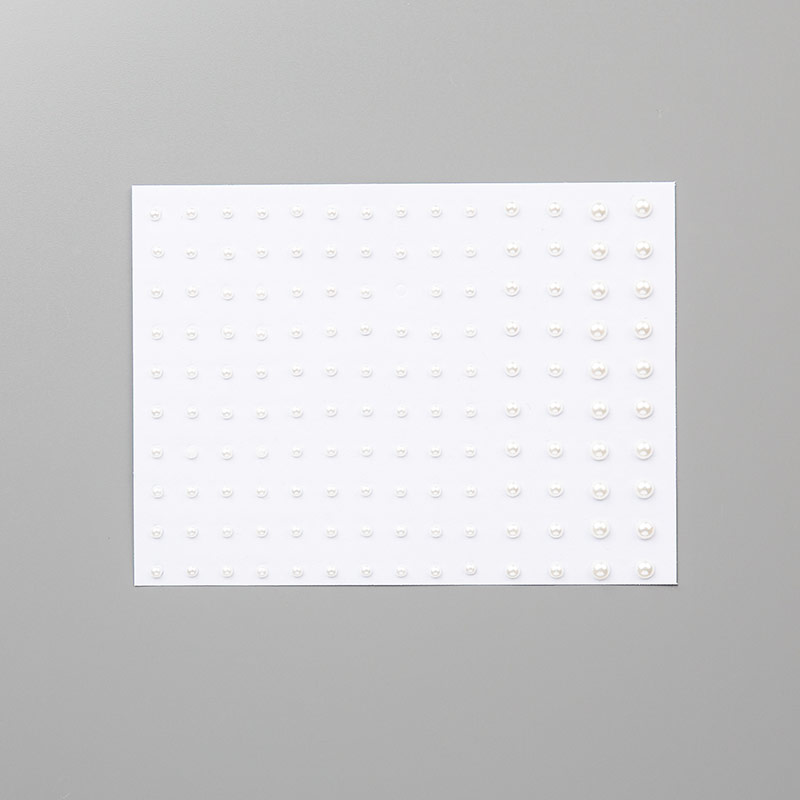
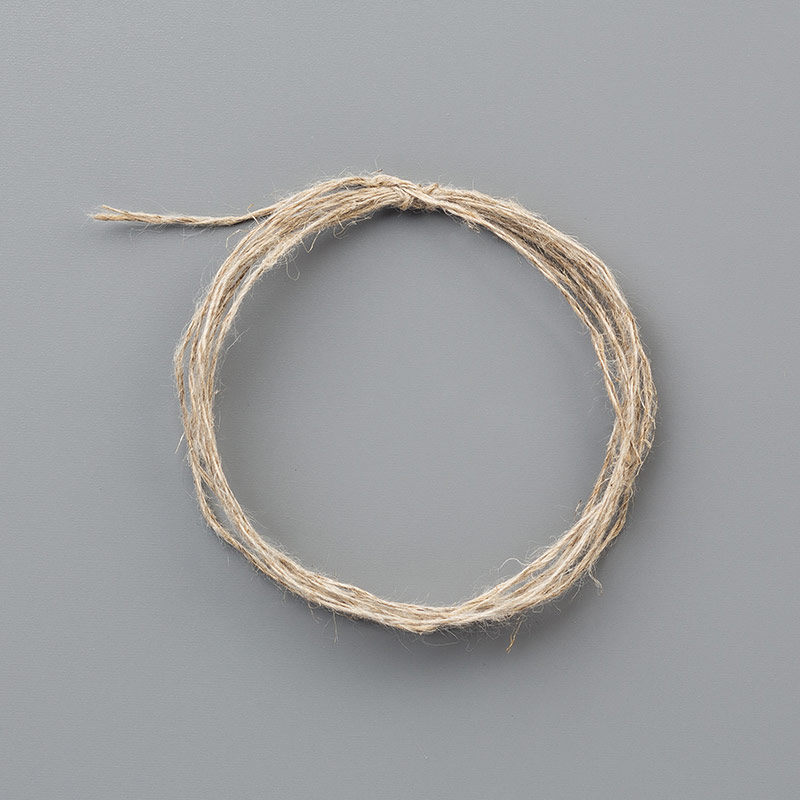
Finally, add 2 Pearls and a Linen Thread bow to the front for a few finishing touches!
In Good Taste Designer Series Paper 152494
Forever Flourishing Dies 152714
Sunflower Dies 152704
Lovely You Stamp Set 152525
Tasteful Labels Dies 152886
Pearls 144219
Linen Thread 104199
Here's a peak at the sticky note holder unfolded....
I hope you enjoyed this fun treat idea!
And....
THE DEAL OF THE WEEK ENDS TODAY!!
Get your chance to WIN THE HIPPO HAPPINESS STAMP SET with a min $30 online order!
Make sure to use Host Code: RK2QAGXZ
You receive the projects I demo'd on our last Facebook Live, too!!!
Orders over $50 also receive a free embellishment in your thank you package or a 16 project PDF Tutorial (you choose!), along with a $5 Bonus Days Coupon for every $50 spent!!
YOU CAN ORDER ONLINE HERE ANYTIME:




No comments:
Post a Comment